
Information
How to Install Electrical Conduit: Bending, Fixing and Drawing In

Updated October 2026 · Meteor Electrical guides · 10 min read
Quick answer: To install electrical conduit, plan a short route with as few bends as possible, then cut each length square and deburr it. Bend PVC with a bending spring or steel with a bending machine, and join it with couplers and circular boxes. Fix saddles at the typical centres for the size, complete the whole system, then draw the cables in with a draw tape. Steel conduit must be earthed and electrically continuous.

This practical guide shows you how to install electrical conduit step by step, for electricians and competent DIYers in the UK and Ireland. It covers planning the route, cutting, bending, fittings, fixing centres, drawing in cables, capacity and earthing steel conduit.
If you are still choosing a system, start with our guide to cable conduit types, sizes and fittings. For work outside, see our guides to outdoor cable conduit on external walls and underground cable conduit and ducting.
In this guide
- What tools do you need to install conduit?
- How do you plan a conduit route?
- How do you cut and deburr conduit?
- How do you bend conduit?
- Which conduit fittings do you need?
- How far apart should conduit fixings be?
- How do you draw cables into conduit?
- How many cables fit in a conduit?
- How do you earth steel conduit?
- Final checks and testing
- FAQs
What tools do you need to install conduit?

A basic conduit kit is small, but each tool matters for a neat, safe result:
- Conduit: rigid PVC conduit for most general work, galvanised steel conduit where impact protection matters, and flexible conduit for final connections to motors and equipment.
- Cutting: a fine-tooth hacksaw, a PVC conduit cutter, and a reamer or file for deburring.
- Bending: bending springs for PVC, and a conduit bending machine for steel.
- Threading (steel only): stocks and dies, cutting compound and a pipe vice.
- Fixing: saddles, screws and plugs, a spirit level, tape measure and a chalk line or pencil.
- Drawing in: a draw tape or draw wire and cable lubricant for long runs.
How do you plan a conduit route?

Good planning makes the installation quicker and the cables easier to pull. Mark the full route on the wall or ceiling before you cut anything.
- Mark every outlet, switch, light and enclosure the conduit must serve.
- Choose the shortest practical route, using straight runs parallel to walls, floors and ceilings.
- Keep bends to a minimum and plan a box or inspection fitting so there is a draw-in point after every two bends or so.
- Keep clear of hot pipes, flues and other services, and allow for doors, windows and future access.
- Size the conduit for the cables now plus spare capacity, usually 20mm or 25mm for general work.
- Strike a level line for horizontal runs and a plumb line for vertical drops.
Where conduit passes through a fire-rated wall or floor, the opening must be fire stopped afterwards, and large conduits may need internal sealing too. Check the building specification.
How do you cut and deburr conduit?
Measure from the centre of each box or fitting and allow for the depth the conduit goes into its spout. Cut the conduit square so it seats fully.
- PVC: cut with a fine-tooth hacksaw or conduit cutter, then remove the burr inside and out with a knife or file. Wipe off the swarf.
- Steel: clamp the tube in a pipe vice, cut it square, then ream the bore. Thread the end with stocks and dies and cutting compound, and run the die until the thread is long enough to reach the coupler or box.
- Both: a sharp edge or burr can strip the insulation as cables are pulled in. BS 7671 requires the inside of conduit to be free of anything that could damage cables, so deburring is not optional.
Pro tip: Paint cut threads on galvanised conduit with zinc-rich paint after assembly. This restores the corrosion protection that the threading removed.
How do you bend conduit?
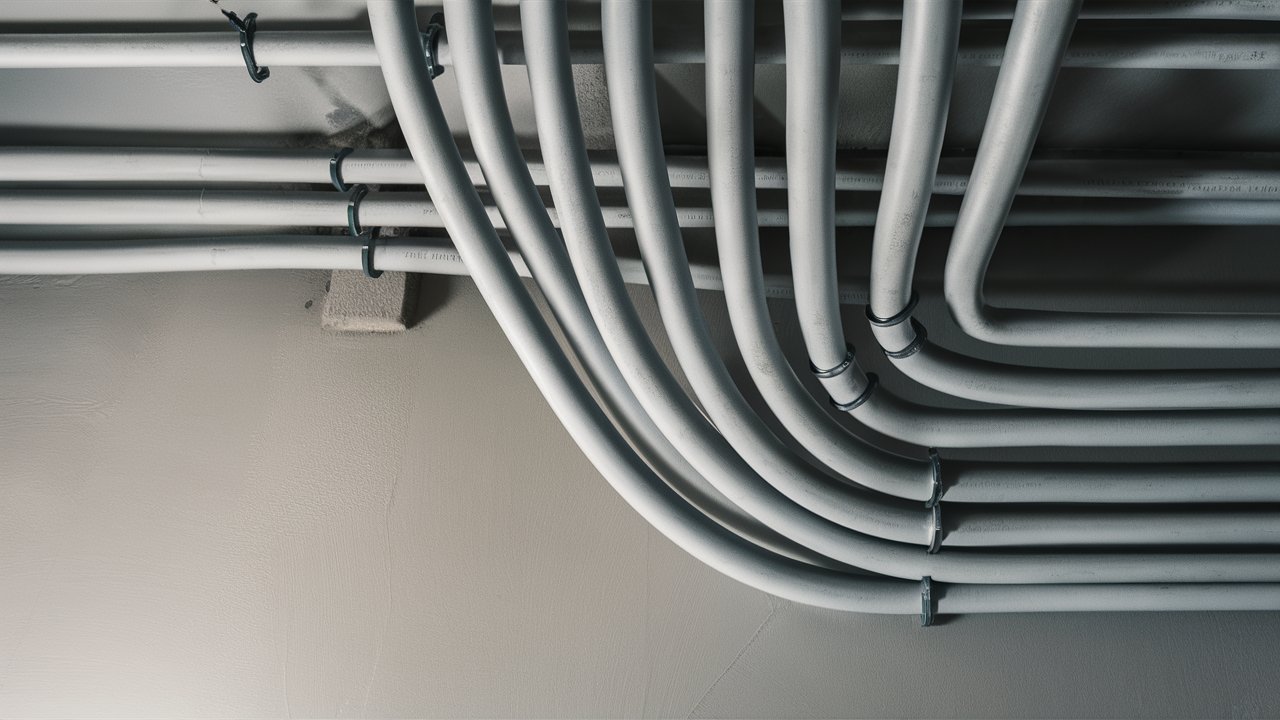
Bending PVC conduit with a bending spring
PVC conduit is bent cold with a bending spring that stops the tube kinking or flattening. Springs come in light and heavy gauge, so match the spring to the conduit, for example a light gauge 20mm bending spring for light gauge 20mm conduit.
- Tie a length of cord to the spring so you can pull it out afterwards.
- Push the spring into the conduit until it sits under the point you will bend.
- Bend the conduit slowly over your knee, going slightly past the angle you need, then ease it back so it holds.
- Twist the spring to loosen it and pull it out with the cord.
- Check the bend against the wall or a square before fixing it.
In cold weather, warm the bend area gently with your hands or a cloth before bending, as cold PVC can crack. Never use a naked flame. For very tight changes of direction, use a factory-made bend or an inspection elbow instead.
Bending steel conduit with a bending machine
Steel conduit is bent with a conduit bending machine that has a former and back guide for each size. This gives a smooth, consistent radius that will not damage the cables. Common bends are the 90 degree bend, the set (offset) for stepping around an obstruction or into a box, and the bridge set for crossing another pipe.
Mark the start of each bend on the tube and check the angle as you go. Keep the bends in a run in the same plane where possible, as twisted sets look poor and are hard to fix.
Which conduit fittings do you need?
Fittings join the lengths, change direction, give access for drawing in and terminate the conduit at accessories and enclosures. Use fittings from the same system and gauge as the conduit.
| Fitting | PVC conduit | Steel conduit | What it does |
|---|---|---|---|
| Coupler | Plain coupler, solvent cemented; expansion coupler on long runs | Threaded coupler | Joins two lengths in a straight line |
| Circular boxes | Terminal, through, angle, tee and intersection boxes | Galvanised or black enamelled boxes with threaded spouts | Change direction, branch, terminate and give draw-in access |
| Inspection fittings | Inspection bends, elbows and tees | Inspection bends, elbows and tees | Tight changes of direction with a removable cover |
| Saddles | Plain, spacer bar and clip saddles | Spacer bar, distance and multiple saddles | Fix the conduit to the surface at set centres |
| Box and enclosure entry | Female adaptor and male bush | Locknut and male brass bush | Secure the conduit to an enclosure with a smooth entry |
- Couplers: PVC couplers are solvent cemented. On long or outdoor runs, fit expansion couplers at the spacing the manufacturer gives, because PVC expands and contracts with temperature.
- Boxes: circular terminal boxes, through boxes, angle and tee boxes act as draw-in points and can take accessories or light fittings. An inspection tee gives access at a junction.
- Saddles: plain PVC saddles are fine for most work, while spacer bar saddles hold the conduit just off the surface so it sits straight over uneven walls and lines up with box spouts.
- Entries: into a consumer unit, trunking or enclosure, use a female adaptor and male bush on PVC, or a galvanised locknut and male brass bush on steel. The bush gives a smooth edge for the cables.
How far apart should conduit fixings be?
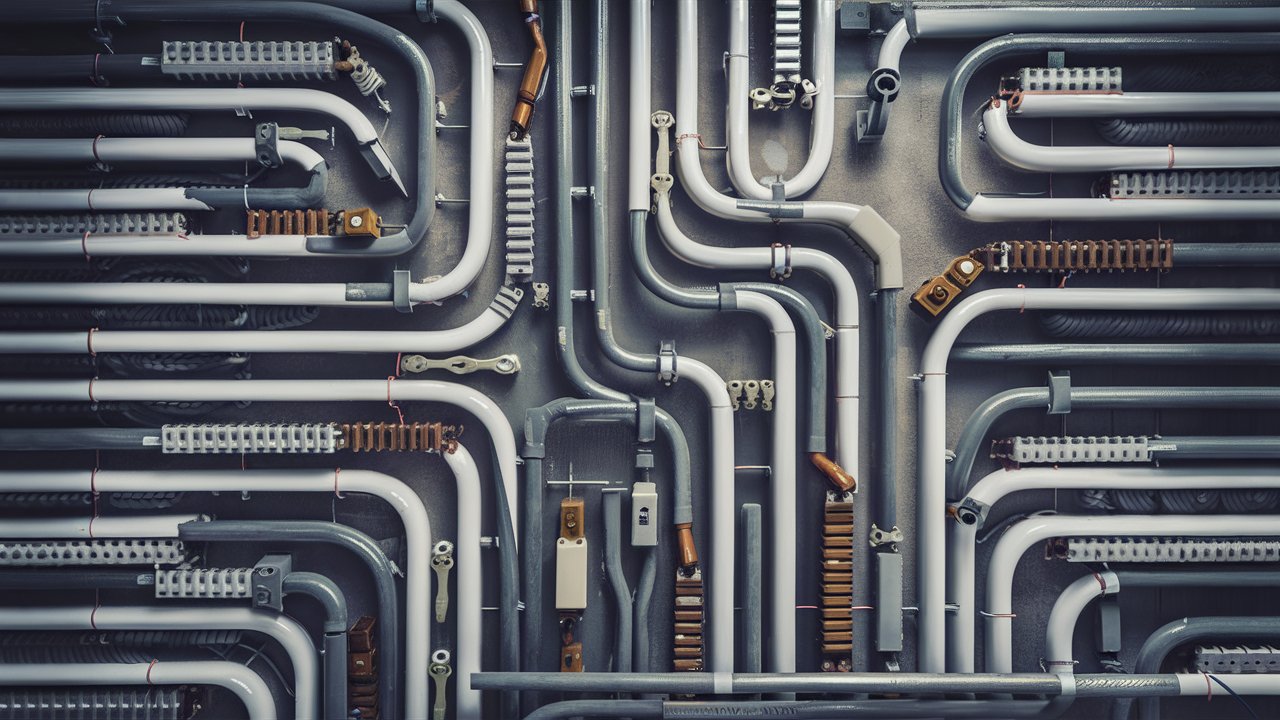
Conduit must be supported so it does not sag or move. The table shows typical maximum spacings between supports, based on values in the IET On-Site Guide. Use them as a guide, not a substitute for the current edition or the manufacturer’s instructions.
| Conduit size (diameter) | Rigid PVC: horizontal | Rigid PVC: vertical | Rigid steel: horizontal | Rigid steel: vertical |
|---|---|---|---|---|
| Up to 16mm | 0.75m | 1.0m | 0.75m | 1.0m |
| Over 16mm up to 25mm | 1.5m | 1.75m | 1.75m | 2.0m |
| Over 25mm up to 40mm | 1.75m | 2.0m | 2.0m | 2.25m |
- Reduce PVC spacings where the conduit is exposed to higher temperatures, as warm PVC sags more.
- Fit a saddle close to each side of a bend and close to each box, so the fitting does not take the load.
- Where conduit runs across ceilings and could fall in a fire and trap people, use supports that will not fail early in a fire, such as metal saddles or fixings.
How do you draw cables into conduit?

A conduit system is installed complete, with all boxes, fittings and lids in place, before any cables are drawn in. UK conduit work normally uses single core cables such as 6491X.
- Check every length is clear and free of burrs, and that bushes are fitted at metal enclosures.
- Push a draw tape (fish tape) or nylon draw wire through from one draw-in point to the next.
- Strip back the cable ends, stagger them and tape them to the draw tape in a smooth, tapered bundle.
- Run the cables off their drums or reels so they go in without twists or kinks.
- Have one person feed the cables straight into the conduit while another pulls steadily. Use cable lubricant on long runs.
- Pull through to each box in turn rather than through the whole system in one go.
- Leave enough cable at each box for terminations, and identify each circuit.
In steel conduit, run all the line and neutral conductors of an AC circuit in the same conduit, so their magnetic fields cancel and do not heat the steel.
Pro tip: Leave a draw wire in place in any spare conduit. It saves time when you add a circuit later.
How many cables fit in a conduit?
An overfilled conduit is hard to pull, can damage insulation and traps heat. The usual UK method is the cable factor method from the IET On-Site Guide:
- Look up the cable factor for each cable you plan to run.
- Add them together to get the total cable factor.
- Look up the conduit factor for each conduit size, for your run length and number of bends.
- Choose the smallest conduit whose factor is equal to or greater than the total.
As a quick check, cables should fill no more than about 40% of the inside area of a conduit. Factors and tables vary between editions and conduit types, so use the current On-Site Guide or the manufacturer’s data, not a remembered figure. Our guide to cable conduit sizes and capacity explains this in more detail.
Remember that grouping several circuits in one conduit reduces the current each cable can safely carry. The circuit designer must allow for this when sizing the cables.
How do you earth steel conduit?
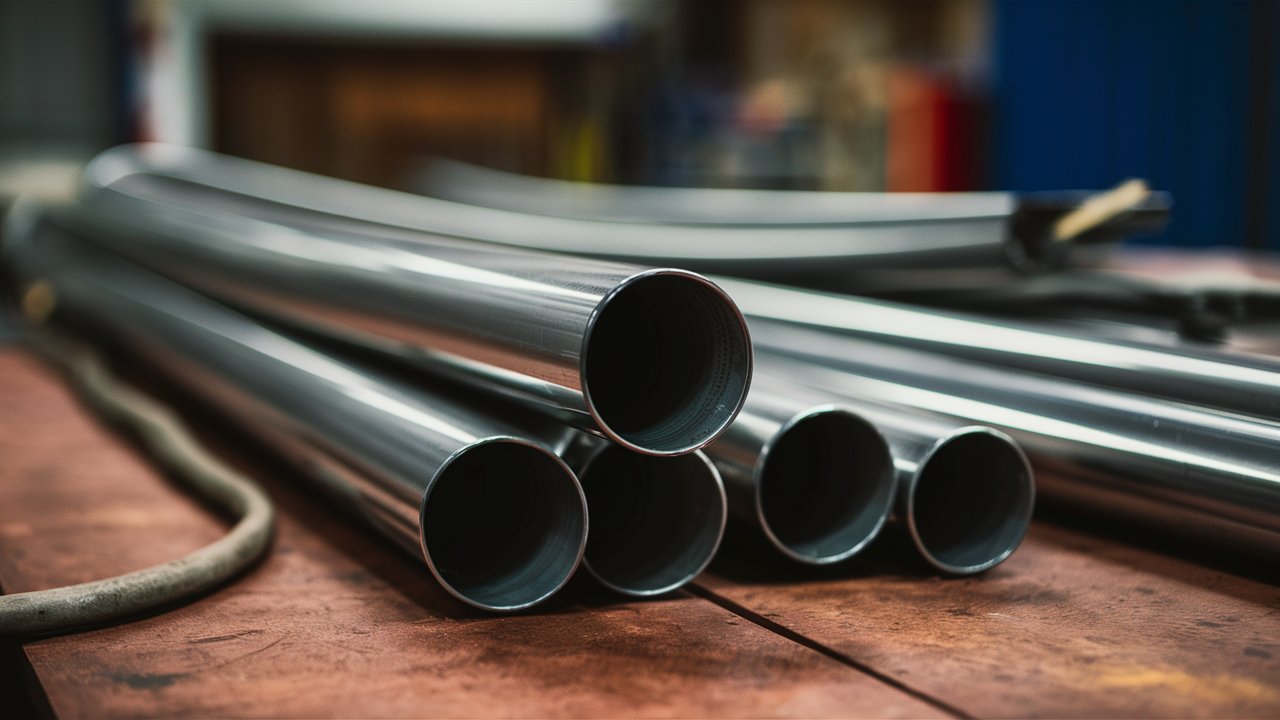
Steel conduit is an exposed conductive part, so it must be connected to earth. BS 7671 allows metal conduit to be used as the circuit protective conductor (CPC), but only where it is electrically continuous and its resistance is low enough for the circuit protection to work.
- Make every threaded joint fully tight, with locknuts and brass bushes tight against the enclosure.
- Remove paint at earth contact points where the system needs it, and use proper earthing clamps and links at changes of material.
- Many electricians draw in a separate CPC as well. This is more reliable over time, especially in damp or corrosive locations.
- Never use flexible metal conduit as the CPC. Run a separate protective conductor through it.
- PVC conduit is not conductive, so it always needs a separate CPC for each circuit.
Safety: Earth continuity of steel conduit must be proved by testing before the circuit is energised. New circuits must comply with BS 7671 (I.S. 10101 in the Republic of Ireland) and some work is notifiable. If you are not sure, use a qualified, registered electrician.
Final checks and testing
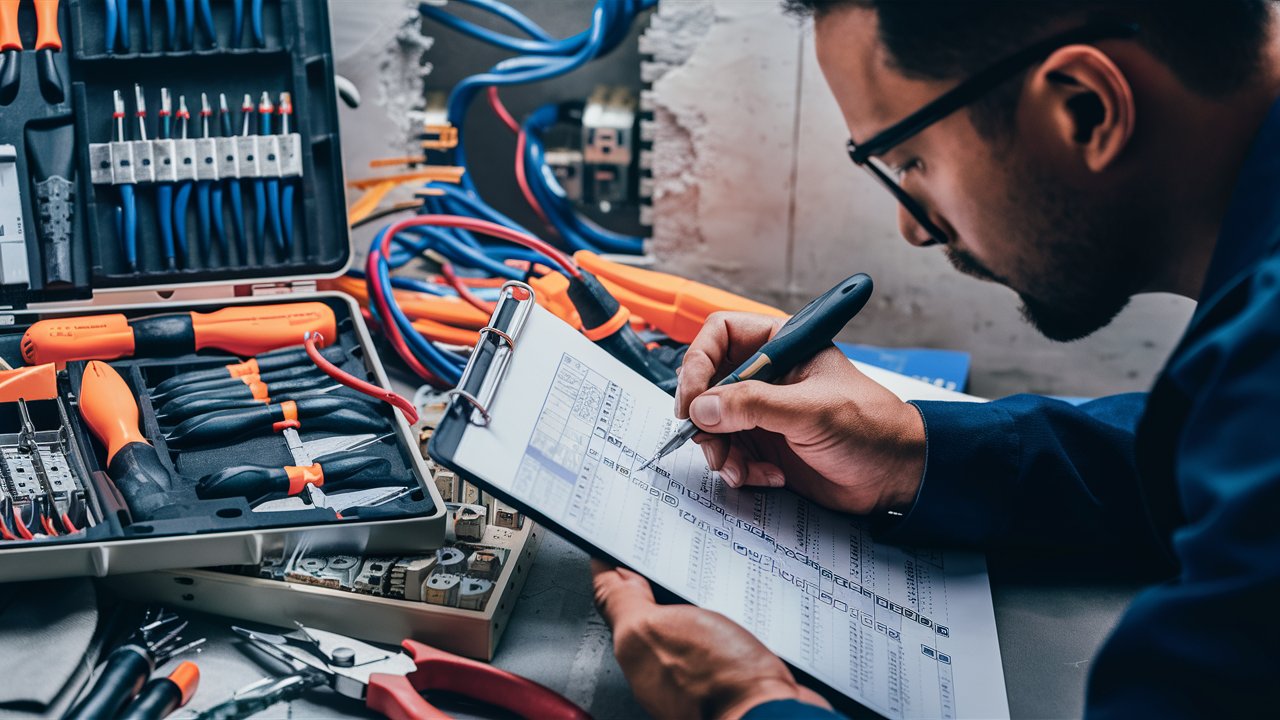
- Check that all saddles are tight, the runs are straight and level, and all lids and covers are fitted.
- Seal unused entries and fit drainage points where condensation could collect, especially outdoors.
- Make good any fire stopping where the conduit passes through walls and floors.
- Test the circuits: continuity of protective conductors, insulation resistance, polarity and earth fault loop impedance.
- Label the circuits and record the installation on the certificate.
For the rules behind these checks, see our guide to UK electrical regulations and standards.
Key takeaways
- Plan short, straight routes with a draw-in point after every two bends or so.
- Cut conduit square and deburr every end, inside and out.
- Bend PVC with a matching bending spring and steel with a bending machine.
- Typical fixing centres for 20mm or 25mm rigid PVC are 1.5m horizontal and 1.75m vertical; check the On-Site Guide.
- Install the whole conduit system first, then draw the cables in with a draw tape.
- Use cable factors to check capacity, and make sure steel conduit is earthed and continuous.
Installing electrical conduit the right way
To install electrical conduit well, take time over the route, cut and deburr carefully, make clean bends and fix the conduit at the right centres. Then draw the cables in through a complete system, check the capacity with cable factors, and prove the earth continuity of steel conduit by testing. If in doubt, use a qualified electrician.
Shop conduit and fittings
PVC, galvanised steel and flexible conduit, plus boxes, saddles, bending springs and accessories. Trade prices, next working day delivery across NI & ROI on in-stock orders before 5pm.
Shop PVC conduit Shop trunking & conduitNeed help choosing? Call our team on 028 8675 1515 (048 from ROI), Monday to Friday, 8am–5pm.
FAQs
How do you bend PVC conduit?
Push a bending spring of the right size and gauge into the conduit so it sits at the bend, then bend the tube slowly over your knee. Go slightly past the angle you need and ease it back. Twist the spring to loosen it and pull it out with the cord tied to its end.
How far apart should conduit saddles be?
Typical IET On-Site Guide spacings for rigid PVC up to 16mm are 0.75m horizontal and 1.0m vertical, rising to 1.5m and 1.75m for 16 to 25mm. Steel can be spaced a little further apart. Reduce the spacing in warm areas and fit a saddle close to each bend and box.
Should cables be installed before or after the conduit?
After. A conduit system should be completely installed, with all boxes and fittings in place, before any cables are drawn in. This lets you check the route is clear and free of burrs, and stops cables being damaged while the conduit is cut, bent and fixed.
How many cables can I put in a 20mm conduit?
It depends on the cable size, run length and number of bends. Add up the cable factors for every cable and choose a conduit whose conduit factor is equal or greater, using the IET On-Site Guide tables. As a quick check, cables should fill no more than about 40% of the conduit.
Can steel conduit be used as the earth?
BS 7671 allows metal conduit to act as a circuit protective conductor if it is electrically continuous and has a low enough resistance. Joints must be tight and checked by testing. Many electricians still draw in a separate earth conductor. Flexible metal conduit must never be used as the protective conductor.
What do you use to pull cables through conduit?
Use a draw tape, also called fish tape, or a nylon draw wire. Push the tape through from a box, tape the cable ends to it in a tapered bundle, then pull while someone feeds the cables in without twists. A cable lubricant helps on long runs or runs with several bends.