
LED Batten Fittings Installation Guide: Understanding Fixings, Cable Entry Planning and Clean Terminations
LED Batten Fittings Installation Guide: Understanding Fixings, Cable Entry Planning and Clean Terminations
Proper installation is what separates a reliable lighting setup from one that causes ongoing issues. LED batten fittings have become the go-to solution across warehouses, offices, schools, and garages thanks to their efficiency, instant illumination, and low maintenance. However, even the best fittings can underperform if fixings are weak, cable routing is messy, or terminations are poorly done.
So, what is the correct way to install an LED batten fitting safely and efficiently? It comes down to three essentials: secure mounting, well-planned cable entry, and clean, compliant wiring. Get these right, and you ensure longevity, safety, and optimal light output from your LED battens.
Tools, Components and Pre-Installation Checklist for LED Batten Fittings
Essential Tools for Batten Light Installation
Before starting any LED batten fittings installation, gather the right tools to avoid interruptions:
- Voltage tester for safe isolation
- Drill and suitable drill bits
- Screwdrivers and cable stripper
- Wall plugs, screws, and appropriate fixings
Understanding LED Batten Components
Knowing the parts helps streamline installation:
- Mounting brackets or sliding clips
- Terminal block for wiring connections
- Diffuser for even light distribution
- Cable entry points for flexible wiring access
Pre-Installation Safety Checks
Safety is non-negotiable:
- Isolate mains power at the consumer unit
- Confirm dead circuits using a tester
- Check load capacity and circuit compatibility
Source - eFIXX
Step-by-Step LED Batten Fitting Installation Process
Follow these LED batten best installation practices:
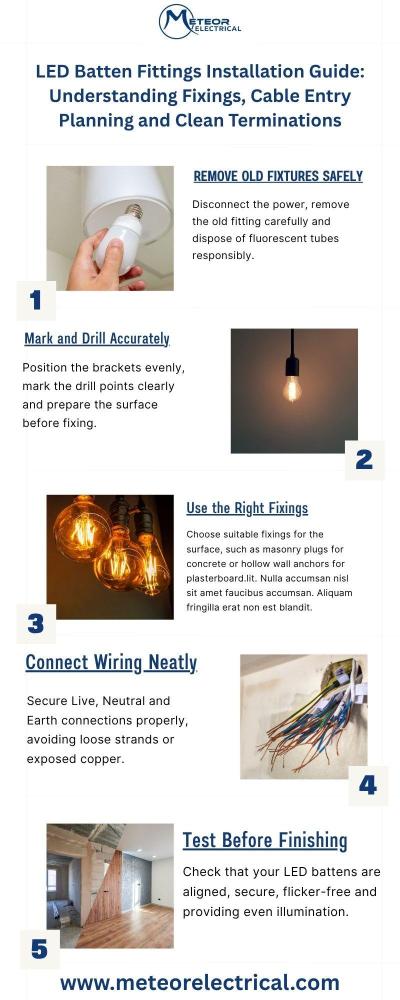
Step 1 - Removing Existing Fluorescent or Batten Fittings
Carefully remove the old fitting by disconnecting wiring and unscrewing the base. Dispose of fluorescent tubes responsibly, as they may contain hazardous materials.
Step 2 - Marking, Drilling and Installing Fixings
Position brackets accurately and mark drilling points. Choose fixings based on the surface:
- Masonry plugs for concrete
- Hollow wall anchors for plasterboard
Step 3 - Wiring Connections and Terminal Block Setup
If you are wondering how to wire an LED batten light correctly to avoid loose connections or faults — focus on precision:
- Connect Live (brown), Neutral (blue), and Earth (green/yellow)
- Tighten terminal screws securely
- Avoid exposed copper or loose strands
Step 4 - Mounting the Batten and Final Testing
Clip the fitting into place and restore power. Check for:
- Even illumination
- No flickering or delay
- Secure fixture alignment
Did You Know - Poor terminal tightening is one of the most common causes of LED lighting failure in commercial installations?
Fixings and Mounting Techniques for Different Surfaces
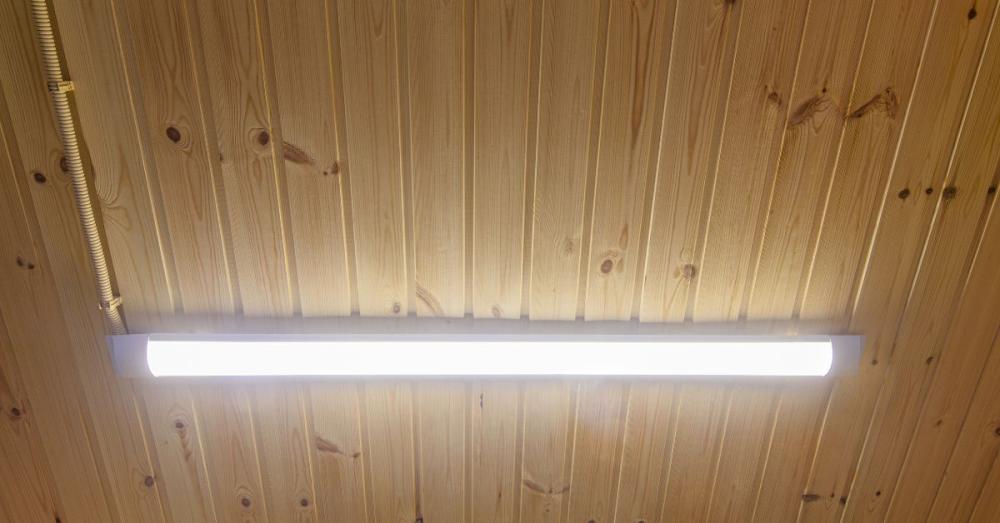
Ceiling Types: Concrete, Plasterboard, and Metal Frameworks
Each surface requires a tailored approach:
- Concrete ceilings need heavy-duty anchors
- Plasterboard requires cavity fixings or toggles
- Metal frameworks may use self-drilling screws
Load-Bearing Considerations and Alignment
Even lightweight LED battens must be evenly supported. Misaligned brackets can strain the housing and affect longevity.
Common Fixing Mistakes to Avoid
- Using incorrect plug sizes
- Over-tightening screws causing cracks
- Poor spacing leading to sagging
Cable Entry Planning and Clean Terminations Explained
Choosing the Right Cable Entry Point
Most LED batten fittings allow rear or side entry:
- Rear entry for concealed wiring
- Side entry for surface conduit systems
Cord Grips, Glands and Strain Relief
Use proper cable glands or cord grips to:
- Prevent cable pull-out
- Maintain enclosure integrity
- Improve safety compliance
Achieving Neat and Safe Terminations
Clean terminations are critical for performance:
- Strip insulation accurately
- Avoid overfilling terminals
- Keep wiring neatly arranged
Avoiding Overcrowding and Heat Build-Up
Allow space within the fitting to prevent overheating. Good airflow improves lifespan and efficiency, especially in high-output LED batten fittings.
Product Focus: Top LED Batten Fittings to Buy Online at Meteor Electrical
1. 4FT Niva Twin Watt & CCT Switchable Interior Integrated LED Batten Kosnic
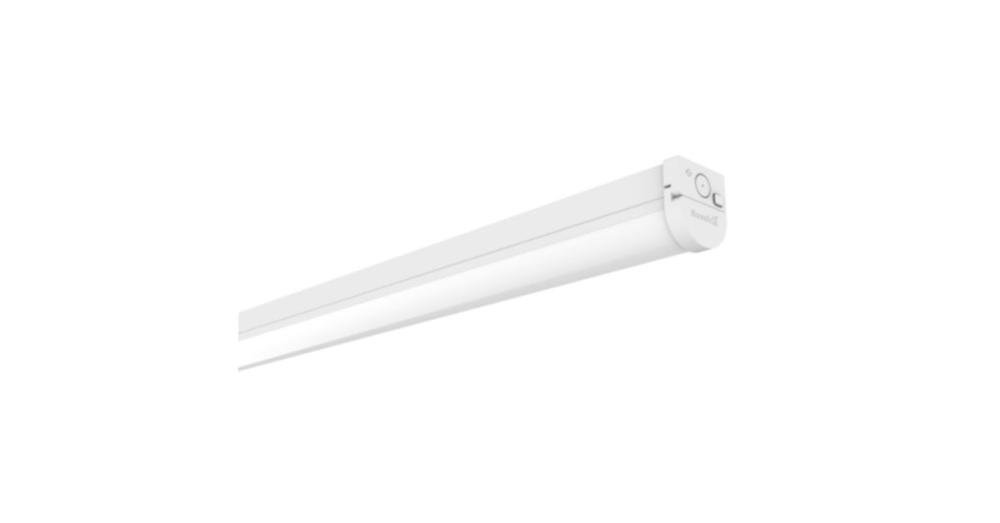
A flexible and installer-friendly solution designed for modern interiors. Its switchable wattage and CCT make it ideal for varied environments.
Key features:
- High efficiency up to 156lm/W
- CCT and wattage switching options
- Optional emergency and dimming modules
- BESA box compatibility
Shop Niva Twin Watt & CCT Switchable Interior Integrated LED Batten Kosnic
2. Arno 36W Single Output Interior Batten with Integrated LED Kosnic
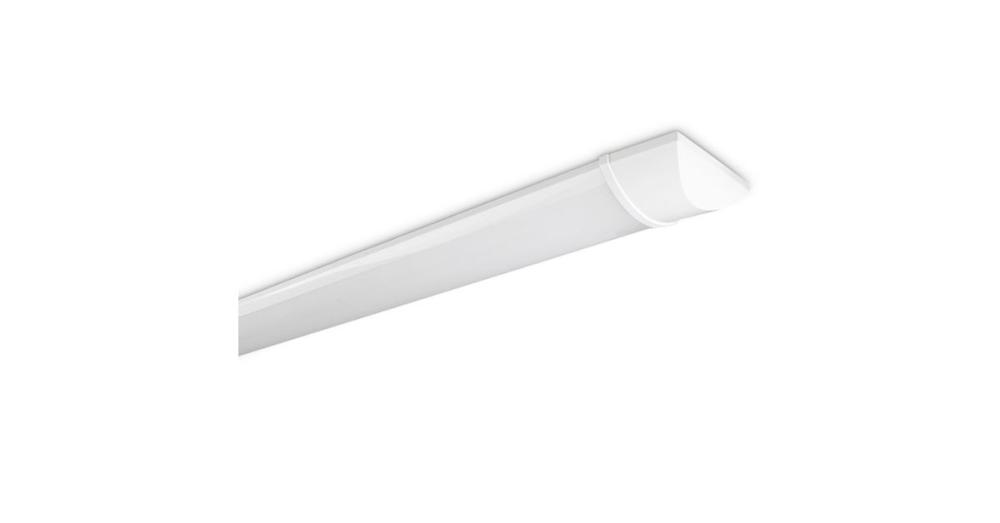
A slim, cost-effective option suitable for commercial and industrial use, offering dependable performance with easy installation.
Key features:
- 4000K cool white output
- Lightweight, slim design
- 650°C glow wire rating
- 2-year warranty
Shop Arno 36W Single Output Interior Batten
3. Kennet 3 Kosnic
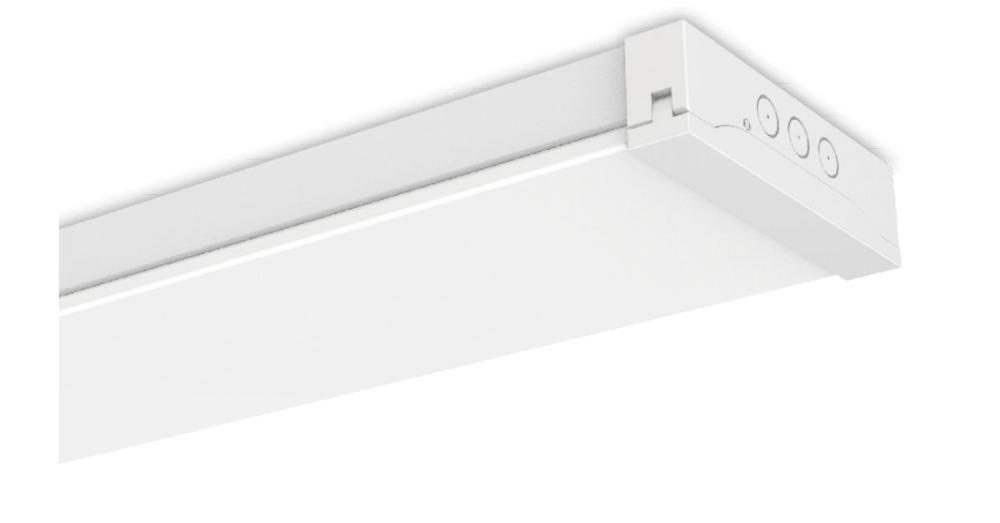
A high-performance upgrade for traditional fluorescent systems, combining efficiency with advanced control options.
Key features:
- Up to 132lm/W efficiency
- Switchable wattage and CCT
- Flicker-free output
- Sensor and emergency module compatibility
- Ultra-slim design
4. Nachi Suspended Backlit Batten 5ft 42W CCT Switchable Kosnic
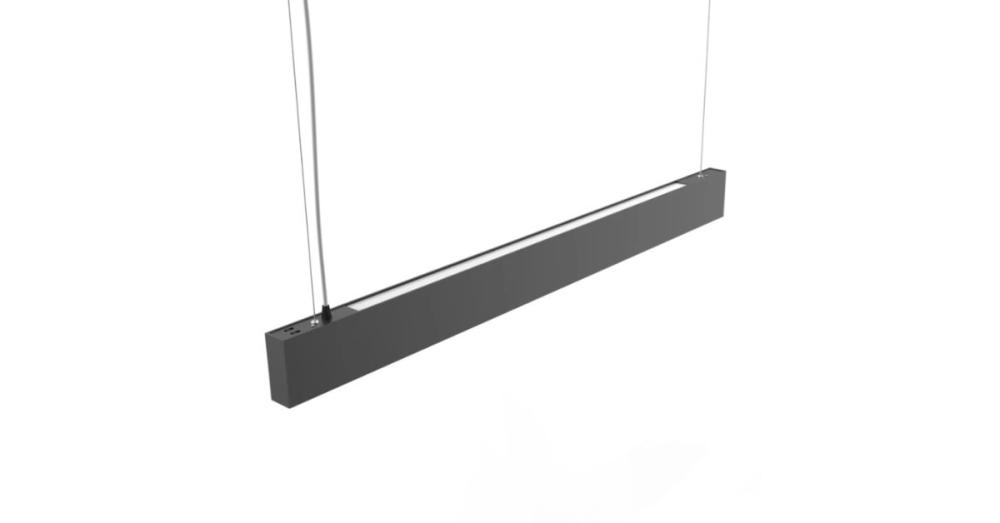
A premium lighting solution for offices and commercial spaces, offering both style and functionality.
Key features:
- Dual light control with CCT switching
- High power factor above 0.94
- Adjustable colour temperatures
- Sleek suspended design
Shop Nachi Suspended Backlit Batten
Installation Tips and Best Practices for Electrical Safety
Positioning and Mounting Considerations
Install fittings away from direct moisture unless rated for it. Ensure proper height and spacing for uniform lighting.
Cable Protection and Sealing Techniques
Use conduit, trunking, or weatherproof glands to protect wiring. Seal entry points to prevent dust or moisture ingress.
Maintenance Tips to Extend Product Lifespan
- Periodically check fixings and connections
- Clean diffusers for optimal light output
- Replace damaged components promptly
- Always follow UK wiring regulations and consult a qualified electrician when needed
Key Takeaways
- Secure fixings are essential for safe and long-lasting LED batten fittings installation, especially on concrete, plasterboard, or metal surfaces.
- Cable entry planning matters because rear or side entry options affect wiring neatness, safety, and the final appearance of the installation.
- Clean terminations help prevent faults, flickering, overheating, and loose connections inside the LED batten fitting.
- Choosing the right fixing method based on the ceiling or wall surface helps avoid sagging, cracking, and poor alignment.
- Proper cable protection and strain relief using glands, cord grips, conduit, or trunking improves safety and supports compliance.
- Regular maintenance extends lifespan, including checking connections, cleaning diffusers, and replacing damaged components when needed.
Conclusion
Installing LED batten fittings correctly is not just about getting the light on. It is about ensuring safety, durability, and consistent performance. From selecting the right fixings to planning cable entry and achieving clean terminations, each step contributes to a professional result. LED battens offer excellent energy efficiency, long lifespan, and minimal maintenance, making them a smart upgrade from traditional lighting.
For reliable products that meet professional standards, explore the full range at Meteor Electrical and find the right solution for your next project.
Shop now and upgrade your lighting with confidence.
FAQs About LED Batten Installation
1) What is the best fixing method for LED batten lights on plasterboard ceilings?
Use cavity wall anchors or toggle bolts to ensure secure support without damaging the plasterboard.
2) Can I replace fluorescent tubes with LED battens directly?
Yes, but you will need to remove the old fitting and wire the new LED batten fitting directly to the mains.
3) How do I choose the right wattage LED batten for my space?
Consider room size and usage; higher wattage suits warehouses, while lower wattage works for offices or corridors.
4) What cable entry option is best for surface-mounted installations?
Side cable entry is typically best for surface-mounted setups using conduit systems.
5) Why is my LED batten not turning on after installation?
Check the power supply, wiring connections, and terminal tightness, as loose or incorrect wiring is a common issue.