
Information
How Do You Choose the Right Size Heat Shrink Tubing for Electrical Cables?
Heat shrink appears straightforward until a tube refuses to pass over a crimp, or slides off the cable after heating. Meteor Electrical is a family-run wholesaler with more than 40 years in the trade, and we supply heat shrink tubing in packs and pre-cut kits to meet a range of electrical installation and maintenance requirements. This guide explains how to match a tube to your cable, joint and working conditions. It covers how sizing works, shrink ratio, measuring, colour choice, five useful products, safe application, and where heat shrink alone falls short.
- What Is Heat Shrink Tubing and Why Does Size Matter?
- 6.4mm vs 12.8mm: What Is the Difference?
- How Do You Measure and Choose the Right Size?
- Which Colour of Heat Shrink Should You Use?
- Which Heat Shrink Packs Suit Which Jobs?
- How Do You Apply Heat Shrink Safely?
- Is Heat Shrink Enough on Its Own?
- Key Takeaways
- Choosing the Right Size Heat Shrink Tubing with Confidence
- Frequently Asked Questions (FAQs)
What Is Heat Shrink Tubing and Why Does Size Matter?
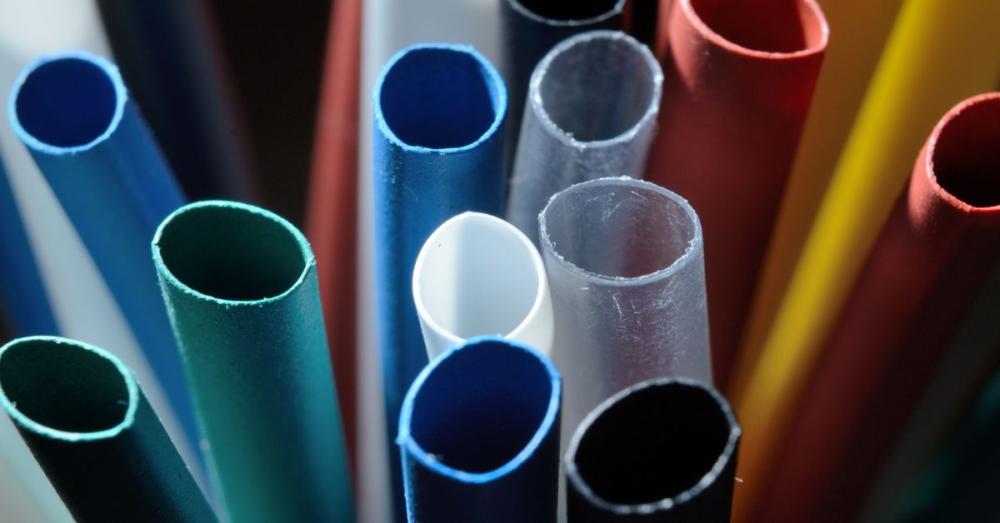
Heat shrink tubing is a plastic sleeve that tightens around cables, joints and terminations when you heat it. It gives you insulation, strain relief and an easy way to colour code wires. That’s why you’ll find it in panels, junction boxes and repair kits across a wide range of electrical applications.
Size matters because the tube only works if it can shrink onto something. If it’s too small, it won’t go over the joint. If it’s too big, it stays loose, and that gap lets in moisture and movement. What you want is a snug sleeve that covers the joint and the cable insulation next to it in a single application.
6.4mm vs 12.8mm: What Is the Difference?
Heat shrink is sized by its diameter before shrinking. That starting size has to pass over the biggest part of your joint, then shrink down onto the smallest part, which is usually the cable insulation. Most sleeving has a 2:1 shrink ratio, so a 12.8mm tube shrinks to roughly 6.4mm. Always check the ratio on the pack.
| Size | Typically Suits | Common Jobs |
|---|---|---|
| 6.4mm | Small conductors and terminals | Control wiring, crimp terminals |
| 12.8mm | Larger conductors and bundles | Cable ends, lug barrels, multi-core bundles |
| Pre-cut mixed kits | A range of short lengths | General maintenance and repair |
Use the table as a starting point. Your own measurements give the final answer.
How Do You Measure and Choose the Right Size?
All you need is a tape or a pair of callipers, and it takes about a minute. Do this before you cut any tube.
- Measure the widest point. This is normally the connector, lug barrel or butt splice, not the cable.
- Pick a supplied diameter that slides over that point without force.
- Check the shrunk size. For a 2:1 tube, halve the supplied diameter. The result must be smaller than the cable insulation.
- Allow for length. Cut the tube long enough to overlap the insulation on both sides of the joint.
- Slide it on first. Thread the tube onto the cable before you make the connection. You can’t add it afterwards.
If you’re covering a copper tube butt splice or the barrel of a cable lug, measure the finished crimp, not the empty part. Crimping often swells the metal a little.
Which Colour of Heat Shrink Should You Use?
Black is the safe all-rounder. It works for most insulation jobs and looks neat in any enclosure. Colour is worth using when you need to tell conductors apart quickly, such as in panels, distribution boards and control wiring.
Green and yellow needs extra care. It’s the colour for protective conductors, so keep it for earthing work, like sleeving earth conductors near an earth bar or earthing equipment. Never use it to re-identify anything else. Before you change the identification of any conductor, check the current regulations (BS 7671) or ask a qualified electrician.
The same idea applies to lighting work. Whether you’re fitting batten fittings in a unit or finishing a flex, a short coloured sleeve helps the next person see what they’re looking at.
Source - DazMode
Which Heat Shrink Packs Suit Which Jobs?
Once you know your size, picking a product is the easy part. These five options from Meteor Electrical cover most of the range of common electrical applications.
1. Unicrimp Heat Shrink Pack 12.8mm x 1m
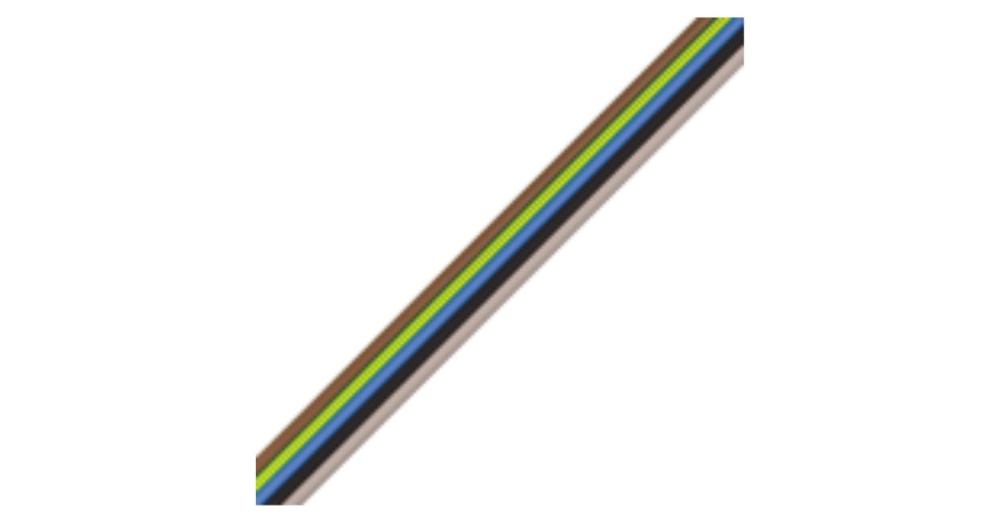
This pack is suitable for applications involving larger conductors. You get a metre each of green/yellow, blue, brown, grey and black sleeving, all with a 2:1 shrink ratio. It’s a good fit for larger cable ends and lug barrels, and the colours come in the same pack.
2. RAY TECH Black Thermo Mini Mix Pre-Cut Heat Shrink Sheaths Kit
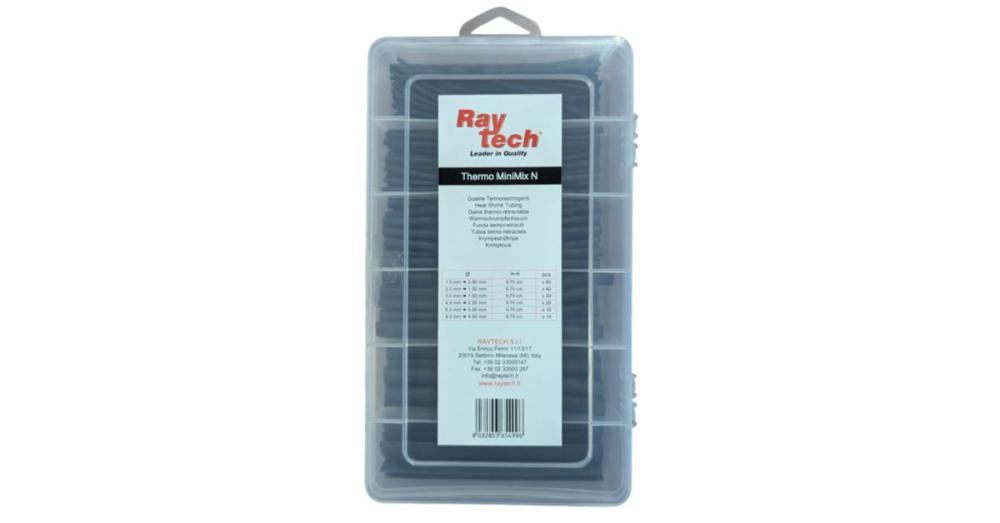
This kit has ready-cut black sheaths sorted by diameter, so reducing the need for on-site measuring and cutting. The listing gives a minimum shrinking temperature of 125°C and an operating range of -55°C to +120°C. It provides a practical alternative to conventional taped insulation, where suitable.
3. Unicrimp Heat Shrink Pack 6.4mm x 1m
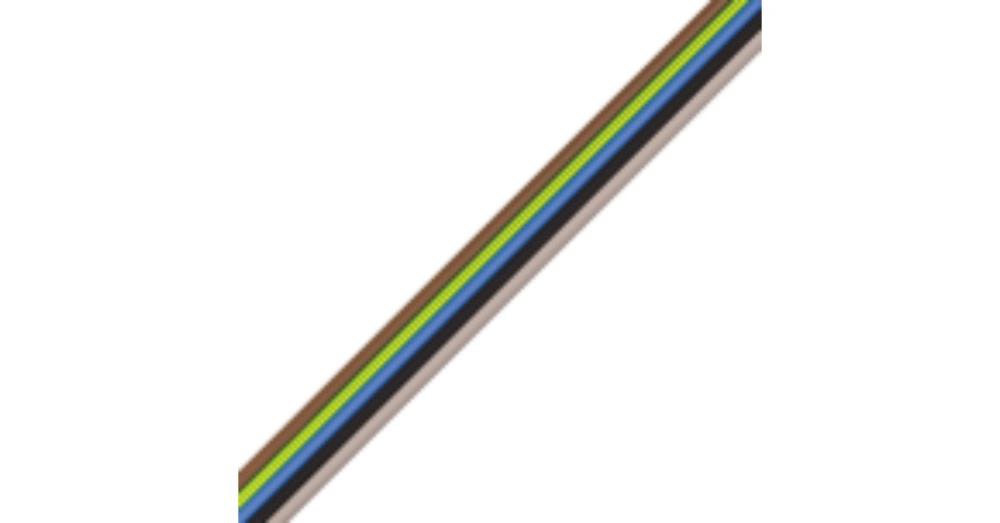
This is the smaller version of the 12.8mm pack, again with a metre each of green/yellow, blue, brown, grey and black. It suits thinner conductors, terminals and control wiring. For applications involving smaller cables and conductors, it saves you hunting for the right sleeve.
4. Unicrimp 6.4mm x 225mm Heat Shrink Pack
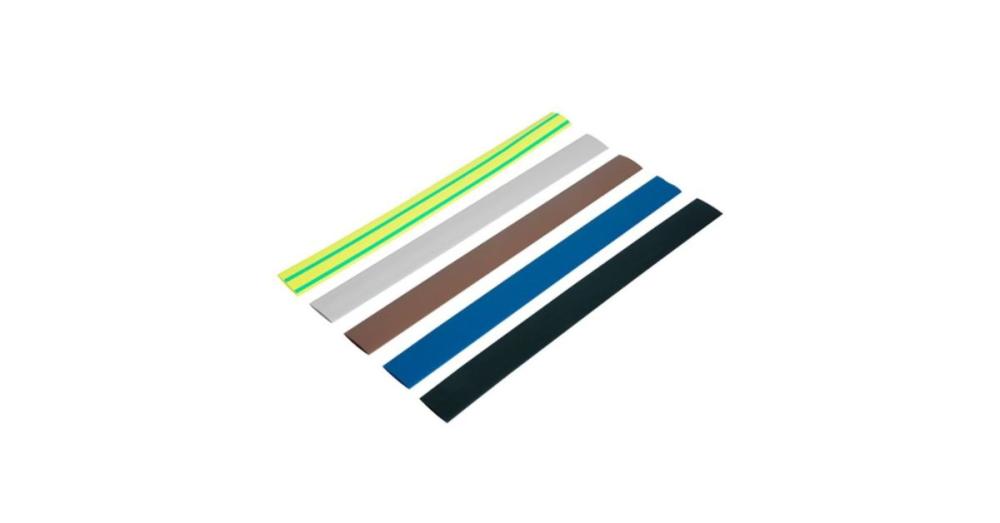
This pack is made from halogen-free polyolefin, with a 2:1 ratio and a continuous temperature range of -55°C to +125°C. The 225mm lengths let you cover more cable with one piece. A datasheet is on the product page if you want the full details.
5. RAY TECH Colour Thermo Mini Mix Pre-Cut Heat Shrink Sheaths Kit
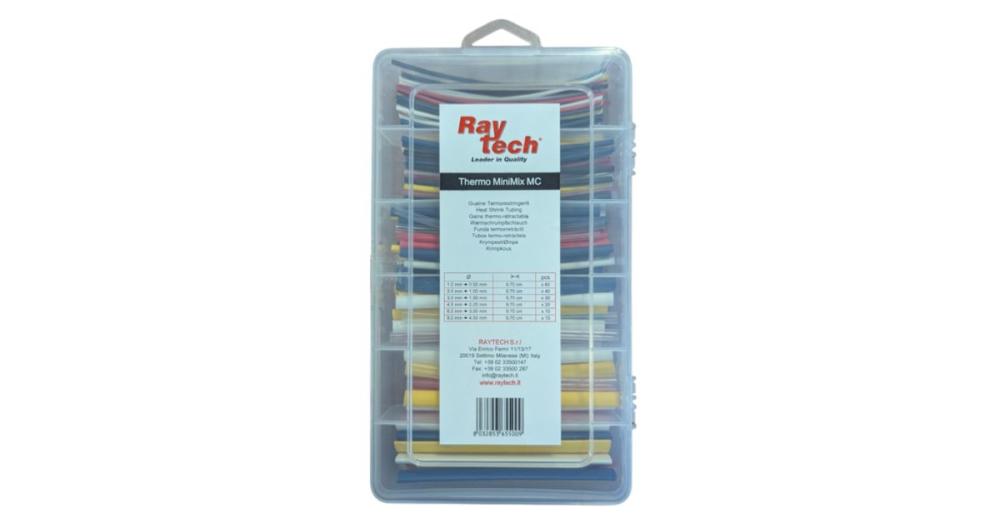
It’s the same idea as the black kit, but in mixed colours. It’s ideal for marking circuits or phases in panels and for general repairs. It is a practical addition to any electrician's toolkit. Just follow the current identification colours before you re-mark any conductor.
How Do You Apply Heat Shrink Safely?
Even correctly sized tubing may not perform as intended if excessive or uneven heat is applied. We recommend a heat gun, because it gives even heat you can control. A lighter or bare flame heats unevenly and can scorch the tube or damage the cable insulation.
- Slide the tube on before you make the connection. Then complete and check the joint.
- Position the tube so it overlaps the cable insulation on both sides.
- Start heating in the middle, then work slowly towards each end. This pushes the air out instead of trapping it.
- Keep the heat moving. Stop once the tube has shrunk evenly and gripped the cable.
- Let it cool fully before you touch it or move the cable.
Is Heat Shrink Enough on Its Own?
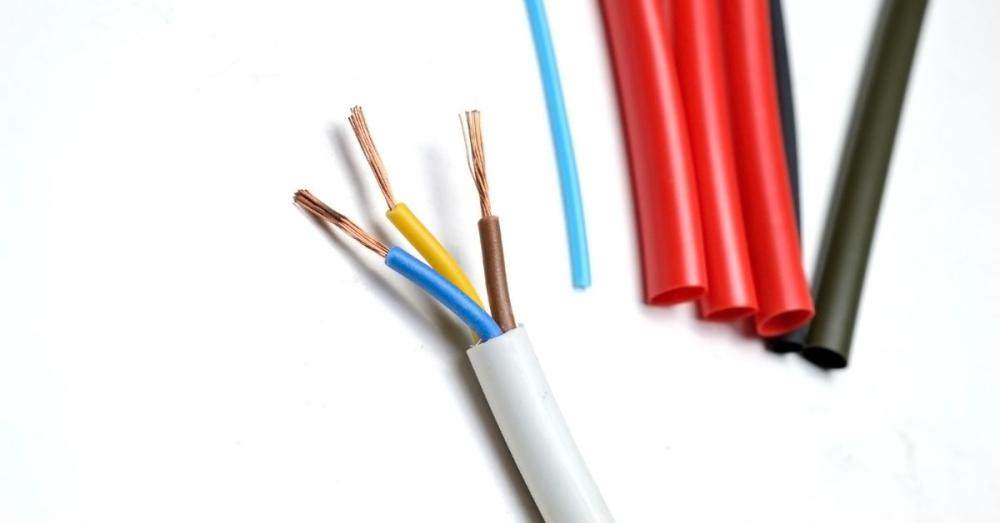
Not always. Standard heat shrink gives you insulation and some protection from moisture, but it isn’t fully waterproof. Adhesive-lined, dual-wall tubing seals better, so use it in damp places. For outdoor or buried joints, use a proper joint kit or a sealant made for those conditions, and check the product specification.
Heat shrink can’t fix a bad connection either. The joint underneath has to be made correctly, and the tube’s voltage and temperature ratings have to suit the job. If you’re unsure about an installation, check the current regulations or use a qualified electrician.
Key Takeaways
- Heat shrink tubing is sized by its diameter before shrinking.
- It must slide over the widest part of the joint, then shrink onto the cable insulation.
- A 2:1 ratio means roughly half the supplied diameter after shrinking.
- Choose 6.4mm for small conductors and 12.8mm for larger cable ends and lug barrels.
- Use black for general work, and keep green/yellow for earthing only.
- Apply heat from the middle outwards, using a heat gun rather than a flame.
Ready to choose the right heat shrink tubing for your next electrical job?
Browse Meteor Electrical's heat shrink tubing range to compare available sizes, colours, packs and pre-cut kits for your installation and maintenance needs.
Visit Meteor ElectricalExplore Heat Shrink TubingChoosing the Right Size Heat Shrink Tubing with Confidence
Choosing the correct size comes down to one essential consideration: the tube slides over the widest point, then shrinks onto the narrowest. Add the right shrink ratio, a sensible colour and even heat, and your joints will look good and last. If you’d like to compare the options side by side, Meteor Electrical stocks heat shrink tubing in packs and pre-cut kits.
Account holders get trade pricing, and in-stock items ordered by 5 pm are delivered next working day across Northern Ireland and the Republic of Ireland. Not sure which size suits your cables? Our counter team is happy to talk it through before you order, to help you select the appropriate tubing for your application.
Shop heat shrink tubing and joint accessories
Need help choosing? Call our team on 028 8675 1515 (048 from ROI), Monday to Friday, 8 am to 5 pm.
Frequently Asked Questions (FAQs)
1. What size heat shrink tubing do I need for electrical wires?
Choose a tube that slides easily over the largest part of the joint, such as the connector, and shrinks down tightly onto the cable insulation. Always check the supplied and recovered diameters.
2. What does a 2:1 shrink ratio mean for my heat shrink tubing?
It means the tubing shrinks to about half its original diameter when fully heated. A 12.8mm tube recovers to roughly 6.4mm, so make sure that is smaller than your cable.
3. Can I use a lighter to shrink heat shrink tubing on a cable?
A bare flame is not recommended. It heats unevenly and can scorch or split the tube and damage the insulation. Use a heat gun, moving it steadily from the centre outwards.
4. Is standard heat shrink tubing waterproof without a sealant?
Standard heat shrink gives insulation and some moisture protection, but is not fully waterproof. Adhesive-lined tubing seals better. For outdoor or buried joints, use a proper joint kit.
5. Can I use coloured heat shrink tubing to identify my cables?
Yes, short coloured lengths are a neat way to identify conductors in panels and control wiring. Follow current identification colours and check regulations before re-marking any conductor.