Plastic (PVC) Conduit Installation Made Easy: Bends, Saddles, Draw Wire & Damage-Free Cable Pulling
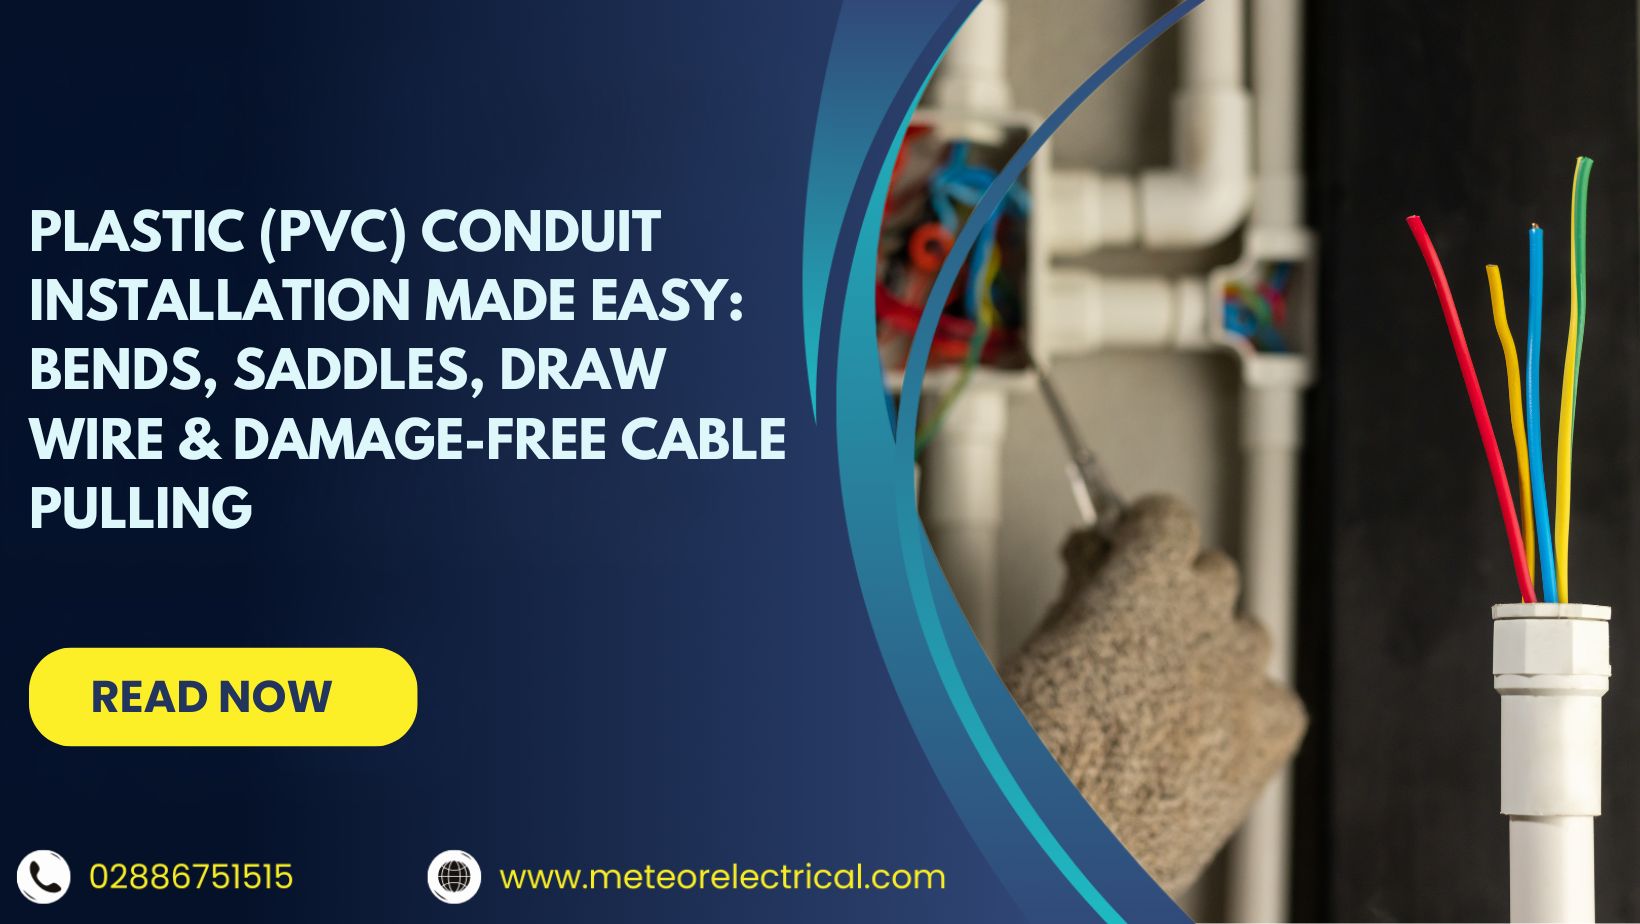
Plastic (PVC) Conduit Installation Made Easy: Bends, Saddles, Draw Wire & Damage-Free Cable Pulling
A neat job is not only about aesthetics. Proper Plastic (PVC) Conduit installation protects insulation, reduces future fault-finding time, and keeps runs serviceable for upgrades. Whether you’re fitting out a retail unit or sorting home office cable management, following the right installation basics avoids future headaches.
This guide serves electricians, facilities managers, and DIY installers who want practical, on-site advice. You’ll learn how to plan runs, form bends, fix with saddles, use draw wire, and pull cables without scuffing or stretching them.
Planning & Conduit Selection for Plastic (PVC) Conduit Installation
Conduit Sizes and Profiles Explained
When it comes to cable conduit sizes, choose the profile that suits the space first, then confirm capacity. Oval is handy where you need a low-profile surface run, while round typically offers easier pulling and a bit more forgiveness on bends.
Common choices you’ll see on jobs:
- 16mm to 25mm for general-purpose surface wiring and small distribution spurs.
- Oval for tight skirting lines and discreet drops.
- Round for longer runs, more direction changes, and simpler cable pulling.
Matching Conduit Size to Cable Load and Future Expansion
Overfill is where quick installs turn into cable damage and callbacks. Aim for breathing room so conduit cables can move during pulling and so you can add a circuit later without ripping everything out. A simple planning habit helps - map your route, count bends and boxes, then size up if the run is long or has multiple changes of direction.
If you manage sites, consider standardising a couple of sizes across maintenance areas. It speeds up repairs and reduces stock headaches, which is a big win for ongoing cable management.
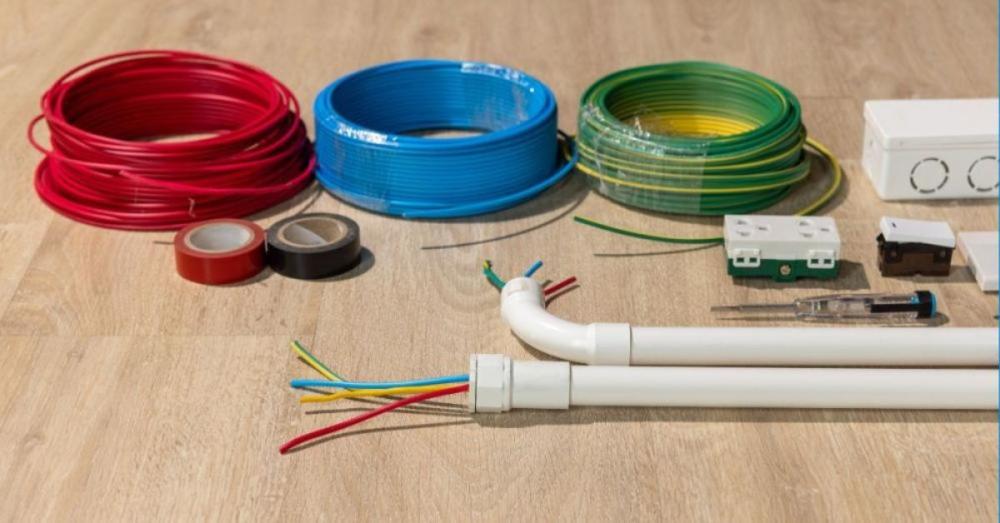
Accessory Checklist for A Professional Finish
Good results depend on the fittings as much as the conduit. Keep these cable management accessories to hand:
- Slip bends for fast direction changes.
- Inspection elbows to create accessible pulling points.
- Saddle clips for clean, secure fixing.
- U boxes for tidy terminations and changes in direction.
- Intersection boxes for crossings and branching routes.
If you’re replenishing stock across multiple sites, it can be efficient to buy cable management accessories online in bulk so you can standardise fittings and avoid mixing incompatible parts.
Bends Done Right: Forming PVC/Plastic Conduit Bends Without Kinks, Flats, Or Stress Points
When to Use Slip Bends vs Forming Bends
Slip bends are the time-savers - consistent, quick, and easy to replace if the route changes. Formed bends can look sleeker on a feature wall or in a visible office area, but they demand control. If you suspect the client will change layouts later, choose fittings and inspection points so you can re-pull without damage.
Bend Radius Basics to Protect Cable Insulation and Reduce Pulling Tension
Tight bends increase friction, raise pulling tension, and can scrape sheath or deform softer cable types. A generous bend radius protects the cable and makes the draw easier, especially on runs with multiple turns. Think of it as designing the route for the cable, not forcing the cable to tolerate the route.
Making Clean Bends On-Site: Best Practices to Avoid Flattening Oval Conduit
Oval runs look sharp when they sit flat and consistent. To avoid flattening:
- Mark your bend start and finish points before you apply any force.
- Keep pressure even and gradual, rather than snapping the bend.
- If the bend looks stressed or pinched, swap to a slip bend or add an inspection elbow.
A slightly longer route that pulls cleanly usually beats a tight route that damages cables.
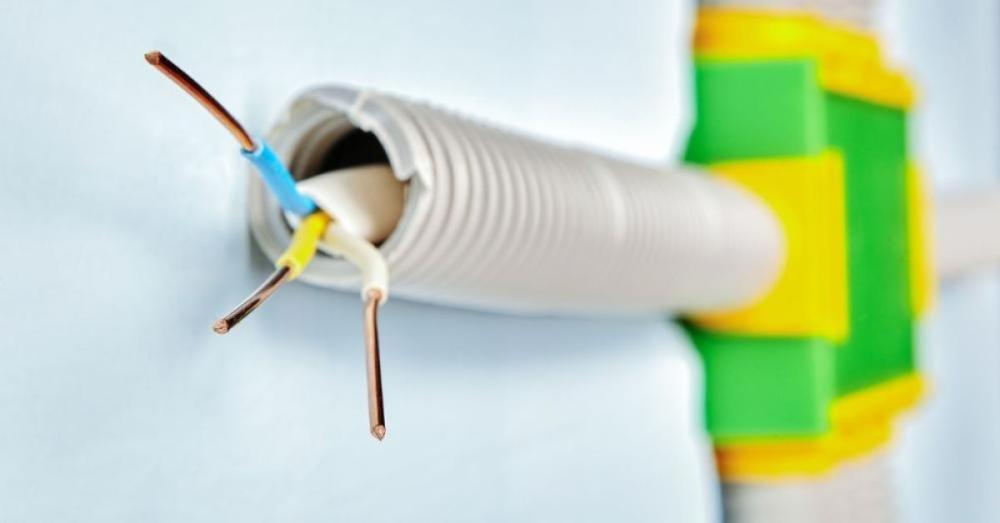
Fixing & Support: Installing Saddles and Clips for Secure, Straight Conduit Runs
Choosing the Right Saddles/Clips for The Surface
Match the fixing method to the substrate and location. Solid masonry, plasterboard, and trunking backboards all behave differently, and vibration areas like plant rooms punish weak fixings over time. If you are routing plastic conduits near heat sources or areas prone to knocks, strong mechanical fixing matters as much as the conduit itself.
Spacing and Alignment: Keeping Conduit Straight and Tidy
Snap a chalk line or use a laser, then clip to the line so the run stays true. Keep saddle spacing tighter near bends, boxes, and terminations to prevent gapping.
A practical checklist:
- Clip close to every box and fitting.
- Add extra saddles before and after bends.
- Avoid forcing conduit into misaligned boxes (it creates stress and gaps).
Source - Electrical Code Coach
Draw Wire & Pulling Without Damage
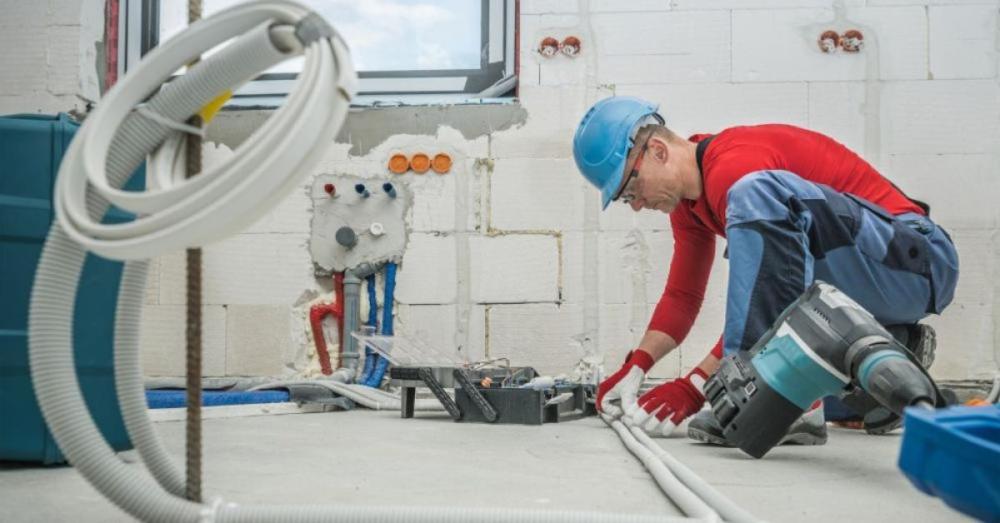
When to Use Draw Wire and How to Select It
Use draw wire (or draw tape) whenever the run is long, has multiple bends, or you’re working blind between access points. Pick something that won’t kink easily and has enough strength for your cable bundle. This is one area where consistent quality pays off, because a snapped draw line can cost more time than the cables.
Setting Up the Pull: Route Checks, Obstructions, and Access Points
Before you pull, do a quick route sanity check:
- Confirm lids and inspection points are accessible.
- Check for sharp edges inside boxes and fittings.
- Ensure the conduit path is continuous and fully seated.
For smoother pulls, some installers use cable pull lubricant on tougher runs (follow manufacturer guidance and keep it compatible with cable sheathing).
Troubleshooting for Stuck Cables, Tight Bends, Overcrowding, and How to Recover Without Ripping Out Conduit
If a pull starts to bind, stop early. Most cable damage happens when you keep hauling after resistance rises.
Try this instead:
- Back off slightly, then re-approach with steadier tension.
- Pull in stages between inspection points rather than one long drag.
- If the run is overcrowded, re-plan with a larger conduit or split the bundle.
When you’re maintaining multiple buildings, it’s smart to source cable management accessories in consistent batches so you always have the same inspection elbows and boxes available for staged pulling and access upgrades.
Conclusion: Build a Durable, Serviceable Conduit System
Clean bends, sensible saddle spacing, and accessible inspection points make Plastic (PVC) Conduit installation faster today and far easier to maintain. Focus on capacity, bend radius, and quality fittings, and your cable routes will stay protected and tidy for years.
When you’re ready to stock up, Meteor Electrical offers a strong range from top brands like Decoduct and Unicrimp, covering conduit sizes and profiles plus essentials like slip bends, saddle clips, inspection elbows, U boxes, and intersection boxes.
Want to buy cable management accessories online with confidence? Visit Meteor Electrical and design a cable conduit system that is built to last.
FAQs
1. What size plastic (PVC) conduit do I need for safe cable management in commercial installs?
Choose based on cable volume, route length, and number of bends, then size up for future additions to avoid overfill and difficult re-pulls.
2. Should I use slip bends or inspection elbows for PVC conduit direction changes?
Use slip bends for quick, simple turns, and inspection elbows where you need access for pulling, troubleshooting, or long runs.
3. How far apart should saddle clips be placed on plastic conduit for a secure run?
Keep spacing closer near bends and boxes, and ensure the run cannot sag or spring. Clip consistently for a straight, serviceable finish.
4. What is the safest way to use draw wire and pull cables through conduit without damage?
Pull steadily, avoid jerking, and stop as soon as resistance increases. Use inspection points to pull in stages and reduce friction.
5. Which cable management accessories are essential for a neat plastic conduit installation?
Slip bends, inspection elbows, saddle clips, U boxes, and intersection boxes cover most routing, fixing, and access needs for long-term maintenance.