The Definitive Floodlight Installation Guide: Height, Aiming, Glare Control and Weather Sealing
The Definitive Floodlight Installation Guide: Height, Aiming, Glare Control and Weather Sealing
Picture this - you switch on your new floodlights only to find dark patches everywhere, blinding glare annoying neighbours or water pooling inside the fittings after the first rain. These headaches plague many setups. This detailed floodlight installation guide tackles the essentials - the perfect height for floodlights, accurate aiming, smart glare control and robust weather sealing.
Follow these professional floodlight setup tips to boost security, cut energy bills and meet IP65/IP66 standards for lasting performance.
Optimal Floodlight Height: Finding the Right Mounting Position
Factors Influencing Floodlight Height for Maximum Coverage
Getting the height right transforms patchy lighting into full, even coverage. Consider the area size first. Small driveways need tighter beams around 30-60 degrees, while large car parks demand wider 90-120 degree spreads.
For residential spots - aim for 2.5-4 metres to balance reach and deterrence without overwhelming the space. Commercial sites often require 6-10 metres to illuminate expansive zones effectively. Factor in obstacles like trees or walls that could block light too.
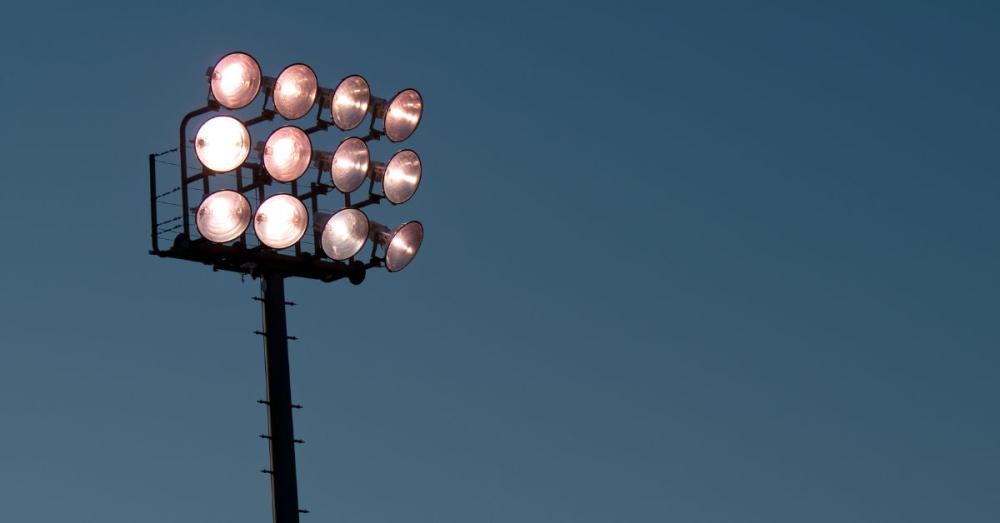
Height Comparison for Residential vs. Commercial Applications
Low mounts at 2.5 metres suit homes well. They deter intruders up close and keep costs down with fewer fixtures. Yet they risk vandalism and limited spread. High mounts above 6 metres are suitable commercial settings, offering broad coverage and tamper resistance.
Drawbacks include higher installation expenses and potential glare from elevation. Choose based on your site's scale, blending heights for hybrid efficiency.
Tools and Measurements for Precise Height Installation
Start with sturdy ladders or scaffolding along with a spotter for safety. Use a laser level to mark exact positions, ensuring brackets align plumb. Measure beam throw with a tape - test at ground level for even lux distribution. Secure fixings into solid walls or poles with masonry anchors. Double-check stability against wind loads before wiring up.
Floodlight Aiming Techniques: Achieving Perfect Beam Alignment
Step by Step Floodlight Aiming Guide for Uniform Illumination
Precise aiming prevents hot spots and shadows:
Step 1: Mount the unit loosely first.
Step 2: Tilt downward 10-30 degrees to hit the target zone, avoiding sky spill.
Step 3: Pan side to side for overlap without gaps.
Step 4: Tighten incrementally, rechecking angles with a protractor or app.
This method ensures every corner glows evenly.
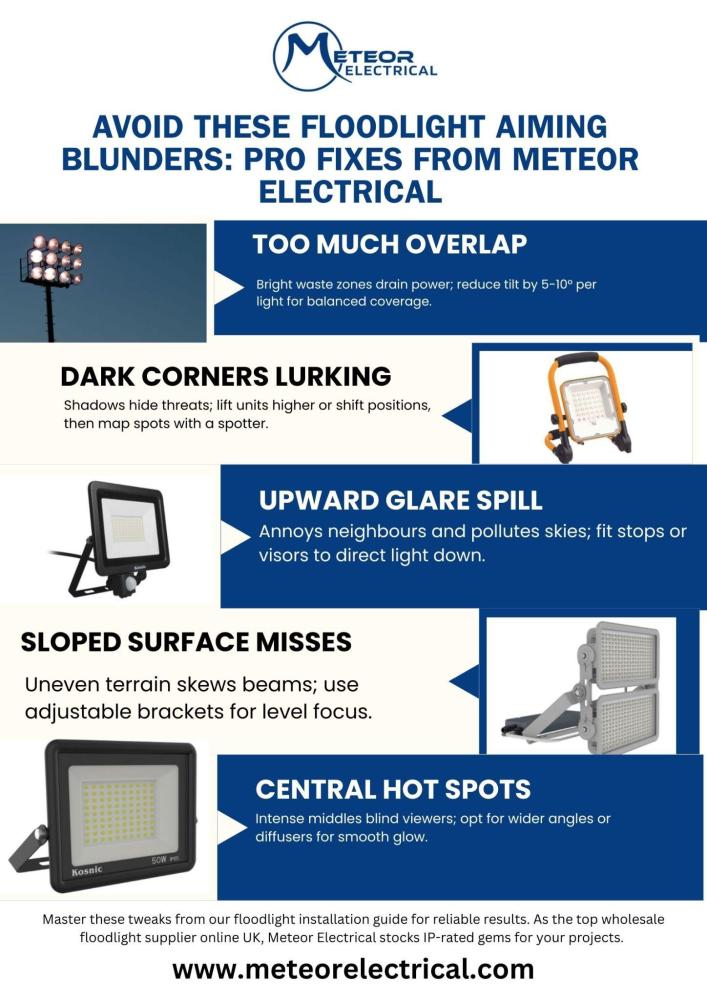
Common Aiming Mistakes and How to Fix Them
Watch out for these pitfalls in your floodlight installation guide:
- Excessive overlap: Creates wasteful bright zones; dial back by 5-10 degrees per unit.
- Shadowed corners: Raise or reposition higher; test with a helper marking dark areas.
- Skyward tilt: Wastes light and annoys neighbours; use built-in stops or visors.
- Uneven ground focus: Adjust for slopes with variable tilt brackets.
- Hot spots in centres: Widen beam angle or add diffusers for softer spread.
Testing Aiming After Installation: Lux Meter Best Practices
Wait for dusk, then walk the area with a lux meter app or handheld device. Target 50-100 lux minimum on paths, more for high-risk spots. Note weak points and tweak aiming live. Create a checklist - coverage map, glare check, timer sync. Revisit after a week to fine-tune.
Effective Glare Control in Floodlight Installation
Understanding Glare Sources and IESNA Compliance Standards
Glare ruins setups fast. Direct glare hits eyes straight on from unshaded bulbs. Reflected glare bounces off shiny surfaces like cars. IESNA standards push for controlled beams under 10 degrees upward spill. Master these for compliant, neighbour-friendly lighting.
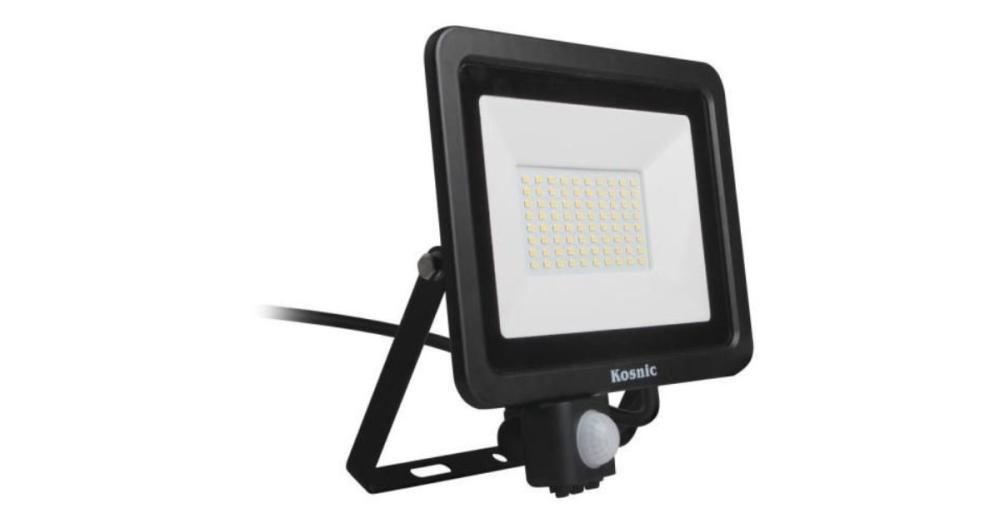
Glare Control Methods: Shields, Lenses, and LED Choices
Fit built-in visors to block upward light. Asymmetric lenses direct beams precisely downward. Opt for 4000K neutral white LEDs as they cut harsh blue tones better than 6000K cool whites.
Source - The DIY Guy
Weather Sealing Essentials: Protecting Floodlights from the Elements
IP Ratings Explained: IP65 vs. IP66 for Floodlight Durability
IP65 handles jets and dust; IP66 withstands heavy sprays and gales. Test ratings simulate hose blasts at 100 litres per minute. Higher seals mean better wind resistance up to 150 km/h gusts, vital for UK winters.
Best Practices for Gasket Sealing and Cable Entry Protection
Seal like a pro with these steps:
- Apply silicone sealant around lens edges before tightening.
- Use IP-rated glands for cable entries, torquing to spec.
- Install breather vents to equalise pressure without moisture ingress.
- Coat exposed metal with anti-corrosion paint or powder.
- Test submersion in a bucket overnight post-install.
Long-Term Maintenance for Weatherproof Floodlight Performance
- Inspect seals bi-annually, resealing cracks promptly.
- Clean lenses quarterly to maintain output.
- Schedule full checks yearly, replacing gaskets every 3-5 years.
Proactive care extends life to 10+ years.
Conclusion: Master Floodlight Installation for Reliable & Lasting Results
With this floodlight installation guide, aim to nail optimal height for coverage, precise aiming for even light, glare control for compliance, and weather sealing for durability. Avoid common pitfalls and achieve efficient, secure illumination that saves energy and headaches long-term.
For electricians and facilities managers looking to source top-tier gear turn to Meteor Electrical as your go-to wholesale floodlight supplier online UK. Browse high-quality, IP-rated floodlights and enjoy expert guidance for seamless projects.
Order now and light up with confidence!
FAQs
1. What is the best height for outdoor floodlights?
For homes, 2.5-4m works best. Commercial sites need 6-10m for broad coverage without blind spots.
2. How do you aim floodlights to minimize light pollution?
Tilt 10-30 degrees down, use asymmetric lenses and test at night to avoid sky spill and neighbour glare.
3. Which IP rating is essential for weather sealing floodlights?
IP65 or IP66 as they resist heavy rain and dust, ensuring longevity in harsh UK weather.
4. Can glare control features be retrofitted to existing floodlights?
Yes, add visors or clip-on shields easily but check compatibility for best cut-off performance.
5. How often should floodlight seals be checked?
Bi-annually or after storms - reseal any cracks to prevent water damage and failures.