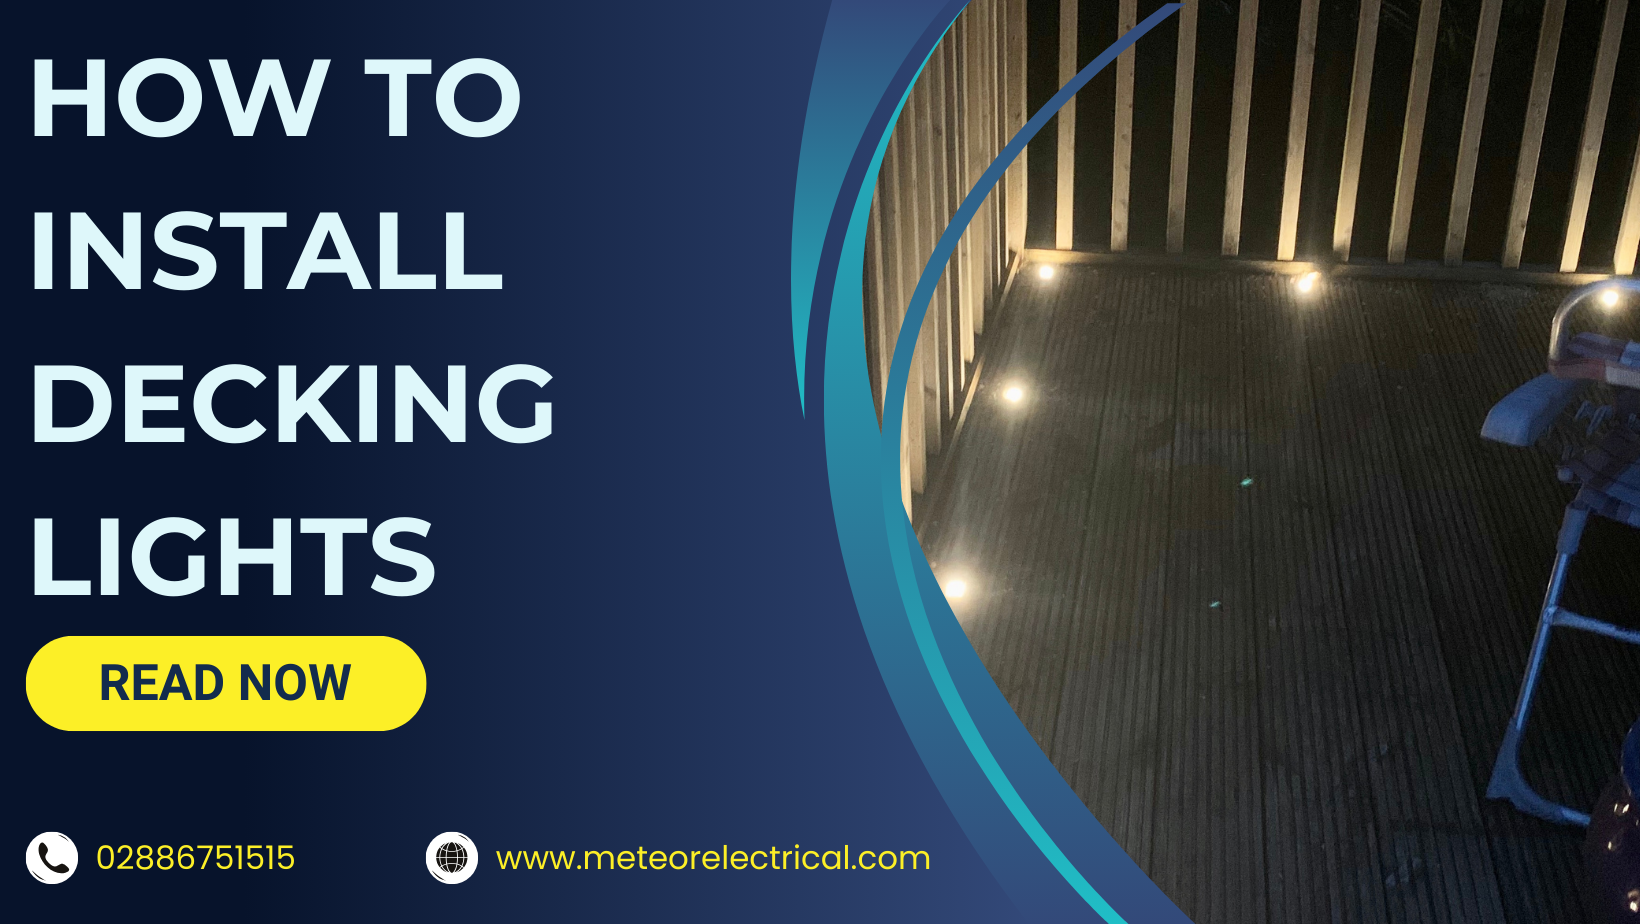
How To Install Decking Lights
Are you thinking about adding a little extra detail to you garden or patio area this summer? Follow Meteor's 6 simple steps below on how to install decking lights.
Step 1. Mark Where The Lights Will Be Placed
Mark out on your deck board where you want your lights to go, make sure they’re evenly spaced out. Decide where your cable will go, ensuring that you have calculated the correct amount you need to reach a safe power supply.
Step 2. Choose A Holesaw
Choose a holesaw with the dimensions that match up with the decking lights that you’ve chosen.
Step 3. Drill The Holes
Remove the board and drill your holes. It may be easier to drill from both sides.
Step 4. Place Your Cables
Place your cables where they’re needed in order for the loom sockets to reach the light cords. If you’re your fitting has a waterproof transformer, you can mount it onto one of your joists, then connect it to your cable, screwing in the waterproof seal cap.
Step 5. Fit The Lights
Place the light inside the holes you’ve cut out, and then connect the cord at the back of the light with the loom socket. In order to create a waterproof seal, you will need to screw a cap in at each connection.
Step 6. Test The Decking Lights
Plug the transformer into a switch to make sure the lights are working, before replacing your board and screwing it back to your deck.
Tools For The Job:
Cordless Drill
Holesaw
Tape measure
Decking Lights

