LED Strip Lighting: The Complete Guide To Smarter, Safer Installs
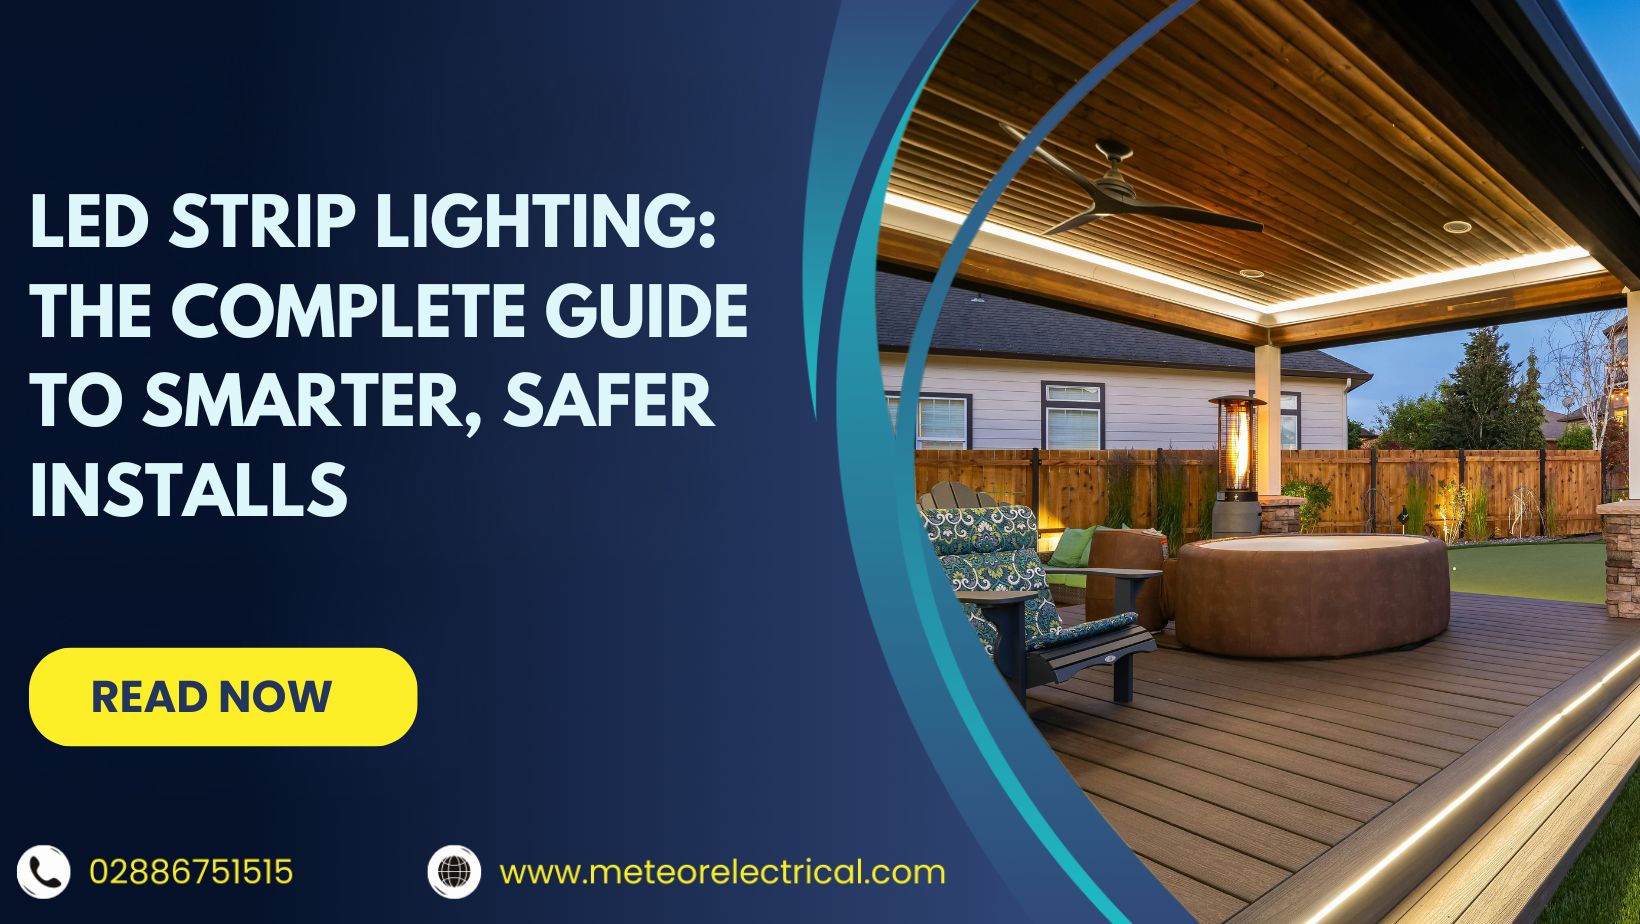
LED Strip Lighting: The Complete Guide To Smarter, Safer Installs
LED strip lighting has rapidly gained popularity due to its versatility and efficiency. Whether you are looking to enhance the ambience of a living room, add accent lighting to kitchen countertops, or create a cosy glow behind your TV, LED strip lights offer a simple yet effective solution. The ability to cut them to size and choose from various colours and brightness levels makes them ideal for both indoor and outdoor applications.
In this guide, you will find everything you need to know about LED strip lighting, from its features to how to install it, while saving energy and improving the look of your space. For a fundamentals refresher, Energy.gov outlines how LEDs cut energy use and heat while maintaining high light output, which is why strip formats work so well for modern homes.
What Are LED Strip Lights?
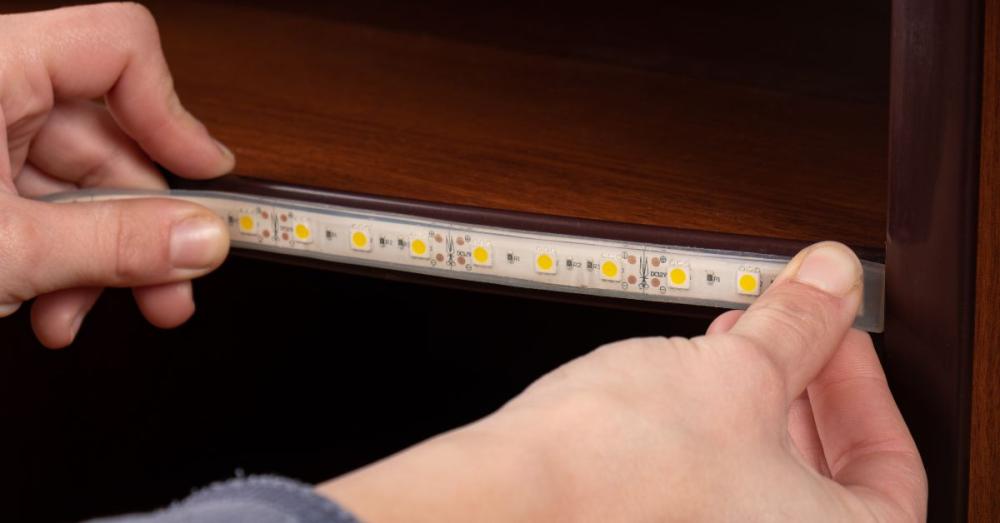
LED strip lights are flexible circuit boards equipped with tiny light-emitting diodes in various colours and brightness levels. Thanks to their self-adhesive backing, LED strips can be attached almost anywhere, from under cabinets to behind your television, making them a highly adaptable lighting option.
At Meteor Electrical, there is a range of LED strip lighting suitable for indoor and outdoor use, ensuring that you have the perfect lighting solution for your project
Key Features of LED Strip Lighting
1. Fully Customisable
One of the most significant advantages of LED strip lighting is its flexibility. You can adjust the colour temperature, length, and even the direction of the light to suit your needs. With LED strips, you can curve the lighting around rounded surfaces like kitchen countertops or walls for a sleek, modern look.
2. Energy Efficiency
LED strip lights are visually appealing and highly efficient. They can consume up to 50 per cent less energy than many traditional options while providing more light and generating less heat. This leads to noticeable savings on energy bills. Choosing LEDs also reduces your carbon footprint, which benefits both homes and businesses.
3. Easy Installation
One standout feature of LED strips is how quickly they can be installed. The self-adhesive backing lets you finish a project in minutes. Clean the surface for better adhesion, peel the strip backing, and position the light in place. For added convenience, plug-and-play LED kits are perfect for smart homes and can include remote control features.
For an in-depth guide on installation, check out this resource from CNET.
4. Longevity and Durability
LED strip lighting is built to last. With typical lifespans ranging from 25,000 to 50,000 hours, frequent replacements are less of a concern. To maximise longevity, use LED profiles to dissipate heat away from the strip and diodes.
Meteor Electrical stocks multiple profile options that protect the strip, enhance appearance, and prolong performance.
Choosing the Right LED Strip Light for Your Space

Colour Temperatures and Types
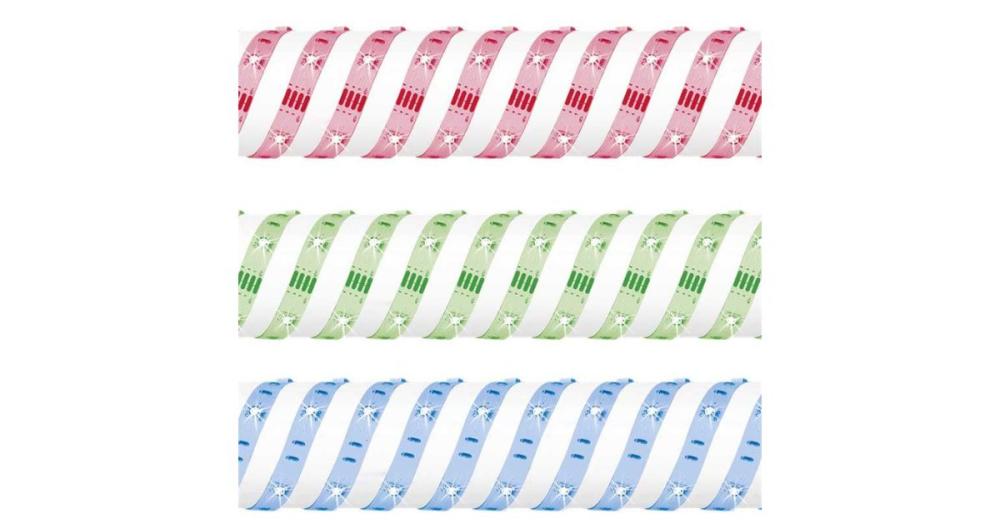
LED strips are available in a wide range of colour temperatures and options, so you can create the mood you want. Warm, inviting light around 2700K suits living rooms and bedrooms, while cooler daylight around 6500K works well for task lighting. Choose single-colour LED strips for functional lighting or colour-changing strips for engaging atmospheres in entertainment areas and children’s rooms.
Brightness Considerations
Brightness is measured in lumens. Different applications need different lumen levels. Under-cabinet lighting can often use lower lumen density than feature walls or large coves, while task or display areas might benefit from higher densities. When comparing products, check lumens per meter and LED density per meter so you can match light output to your space.
As a general guide, check out this article from LED Supply on brightness recommendations for various applications.
IP Ratings for Indoor and Outdoor Use
For outdoor or wet areas, always check the IP rating. IP44 or higher indicates resistance to splashes and basic water exposure, suitable for bathrooms and covered outdoor areas. For more demanding conditions, IP65 and IP67 offer stronger protection, with IP67 protecting against temporary immersion.
For living rooms, bedrooms, and dry indoor areas, IP20 is often sufficient. Always match the driver, connectors, and accessories to the same environment and protection level.
Learn more about IP ratings here.
Customising Your LED Strip Lighting
Many LED strips can be cut to fit your project. Use the marked cut points to size strips without damaging functionality. For a clean, professional finish, consider aluminium channels with diffusers that hide hot spots and protect the strip. Meteor Electrical can support custom lengths and accessories that streamline installation for both home improvement and commercial projects.
The Aurora One Smart Kit: Elevate Your Space
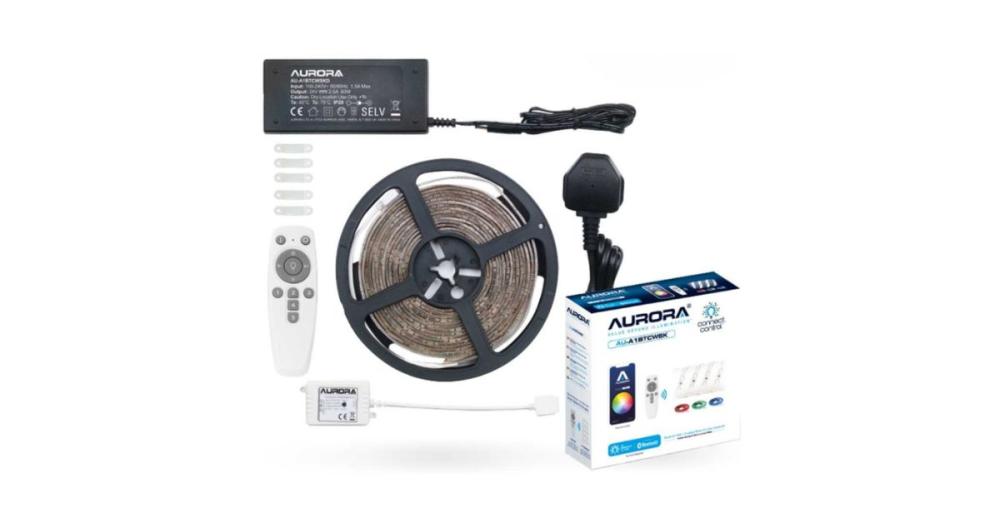
If smart control is a priority, Aurora’s Bluetooth LED Strip Kit is an easy way to get started. It includes a 5-meter strip, remote, and Bluetooth receiver, so you can control the lighting from your phone. This user-friendly, plug-and-play system is ideal for renters and owners who want to transform a room quickly without complex wiring.
Key Features:
- 5-meter RGBCX LED strip
- Bluetooth remote control
- Multiple colour options
- Easy installation with plug-and-play or hardwire setup
Power and Drivers 101
LED strips need the right power supply to run safely and at full brightness. Start by confirming strip voltage, typically 12V or 24V. Match the driver output voltage to the strip and size the wattage with headroom. For example, if your strip draws 60W total, a driver rated around 75W provides a comfortable safety margin. Longer runs can cause a voltage drop, which leads to dimming at the far end.
Solve this with parallel feeds, higher voltage strips such as 24V, or by injecting power at both ends. When dimming, choose drivers compatible with your control method, such as TRIAC, 0 to 10V, DALI, or smart Bluetooth and Wi Fi hubs. Always keep drivers ventilated and away from moisture unless the driver is specifically rated for that environment.
Mounting, Heat Management, and Diffusion
Great-looking strip projects rely on proper mounting and thermal management. Clean, dry, and smooth surfaces help the adhesive bond. For a premium finish and longer life, mount strips inside aluminium profiles. These channels act as heatsinks, reducing LED junction temperatures and keeping colours stable. Add a diffuser cover to smooth out hotspots and make the light line look continuous, especially in shallow coves or under cabinets.
Consider strip density and profile depth together because a higher density strip with a deeper diffuser produces more uniform lines of light.
How To Install LED Strip Lights Step By Step
Plan and Measure
- Sketch the route and measure each segment.
- Decide where the driver will live and how you will route low-voltage cables.
- Check that sockets, switches, or control modules are accessible.
Prepare the Surface
- Clean with isopropyl alcohol to remove dust and oils.
- Dry completely before applying the strip.
Cut and Connect
- Cut only at marked cut points.
- Use manufacturer-approved connectors or solder for a secure, low-resistance joint.
- Observe polarity on low-voltage connections.
Mount and Power
- Peel the adhesive liner gradually and press the strip firmly as you go.
- Route corners using corner connectors or gentle curves that respect bend limits.
- Connect to the driver and test before final fixing of trims and covers.
Control and Fine-Tune
- Pair remotes or apps if using a smart kit.
- Adjust brightness and colour temperature for the space.
- Save scenes for reading, relaxing, or entertaining.
Source - Flexfire LEDs
Where LED Strips Shine: Practical Ideas

- Kitchens: Under-cabinet task lighting, toe-kick night lighting, or cove accents.
- Living rooms: Backlighting TVs, shelving displays, and ceiling coves.
- Bedrooms: Headboard accents, wardrobe lighting, and soft under-bed night lights.
- Bathrooms: Mirror backlighting and under vanity lighting with appropriate IP ratings.
- Outdoors: Patios, pergolas, and steps using sealed strips and weatherproof accessories.
Buying Guide: Specs That Matter
- Voltage and wattage: Ensure driver compatibility with total load and add 20 to 30 per cent headroom.
- Lumens per meter: Match output to task or accent applications.
- Colour rendering: Look for CRI 90 or higher where colour accuracy matters, such as kitchens and wardrobes.
- Colour consistency: Choose reputable brands for tighter binning and uniform tone across reels.
- IP rating: Match the environment, especially in kitchens, baths, and outdoors.
- Accessories: Pick compatible profiles, diffusers, corner pieces, and connectors.
Common Mistakes To Avoid
- Underpowered driver: Causes flicker, dimming, or early failure.
- Ignoring voltage drop: Leads to uneven brightness on long runs.
- Skipping profiles: Reduces lifespan and creates visible LED dots.
- Mixing incompatible controls: Results in dead zones or unreliable dimming.
- Poor prep: Dusty surfaces lead to peeling and failure over time.
Conclusion
LED strip lighting brings flexible design, energy savings, and a professional finish to any room when you choose the right specs and install them correctly. Focus on the essentials, including voltage and driver sizing, lumen output, colour temperature, IP rating, and heat management with aluminium profiles and diffusers.
When you are ready to plan or purchase, explore LED tape lights, dimmable LED strips, smart LED strip kit options, IP65 waterproof LED strip choices, and LED channel diffuser profiles at Meteor Electrical.
Shop the full range, get fast delivery, and light your space the smart way with Meteor Electrical.
FAQs
1) What length can I run a single LED strip without dimming?
Maximum run length depends on strip voltage, wattage per meter, and wire gauge. As a rule of thumb, 24V strips allow longer runs than 12V before voltage drop becomes visible. For very long coves, feed power at both ends or inject power at intervals to maintain uniform brightness.
2) Which IP rating do I need for kitchens, bathrooms, or outdoors?
For dry areas, IP20 is typical. For kitchens with occasional splashes, IP44 or IP54 is a safer choice near sinks. Bathrooms often use IP44 or higher, depending on the zone. Outdoors under cover generally starts at IP65, while exposed locations can require IP67 for temporary immersion resilience.
3) How do I choose the right driver for my LED strip?
Match voltage first, then total wattage. Add 20 to 30 per cent headroom above the calculated load to avoid running the driver at 100 per cent. If you plan on dimming, choose a driver that supports your control method, such as TRIAC, 0 to 10V, DALI, or smart control modules.
4) Can LED strips be cut and reconnected easily?
Most quality strips include clear-cut marks and support either clip connectors or solder joints. For best reliability in permanent installations, solder and heat-shrink the joints, then house them in a profile for mechanical protection.
5) What colour temperature should I pick for different rooms?
Use warm white around 2700K to 3000K for living rooms and bedrooms, neutral white around 4000K for general areas, and cooler 5000K to 6500K for task zones like workshops or utility spaces. If you want flexibility, consider tunable white strips that let you adjust from warm to cool.
6) Do I need aluminium profiles for every install?
Not always, but profiles are recommended when you want a professional finish, uniform diffusion, and better heat management. They protect the strip, hide hotspots, and help it run cooler, which extends lifespan and maintains consistent colour.